Customize an insight: add text, Artworks media
Introduction
Artshell provides you with all the tools you need to create custom Insights that meet your needs. Learn how to format text, insert images, add events, create buttons, and much more.
After creating your Insight, click the icon to enter mode edit. At this point, select the white area of the Insight and click on Enter the text here. At this point, you can:
Edit the text
Select the portion of text you want to edit to bring up the formatting menu with the customization options.

To view details about the various menu features, click each icon to expand it:
Text Color
Choose the color of the selected text. You can do this using the color picker or by entering a HEX code directly (e.g., #000000 for black).

Bold
Apply bold formatting to the selected text.

Italics
Apply italics to the selected text.

Font
Choose your preferred font and customize its size and line spacing.
When selecting a font, we recommend using a standard web font, as these are supported by all operating systems. Specifically, we recommend using: Arial / Courier / Georgia / Helvetica / Lucida Sans / Tahoma / Times New Roman.

Text Alignment
Align the text to the left, right, or center, or justify it. You can also adjust the indentation.

Add a link to the text
Add a link to the selected text by entering the URL in the field provided. Press ENTER on your keyboard to complete the link.

If, on the other hand, you want to Insert a link to an email address, in the URL field, first type the text mailto: 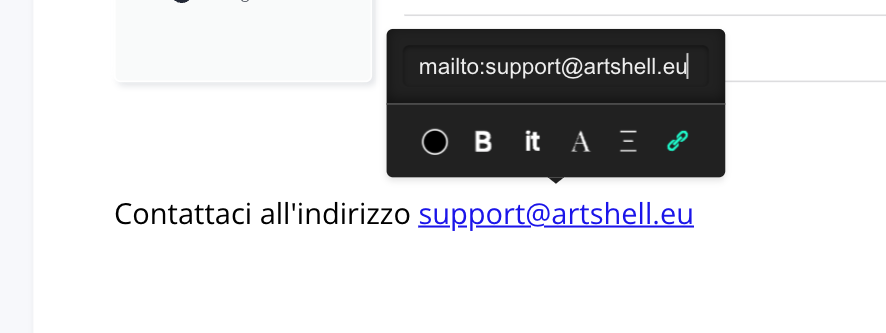
Insert multimedia content
To insert multimedia content, click anywhere in the white area: the second menu will automatically appear at the bottom center of the page.

Click each icon to expand it and read the content:
Add item
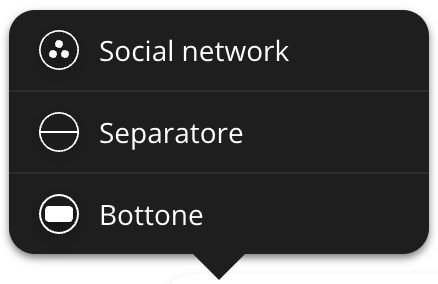
Social Media
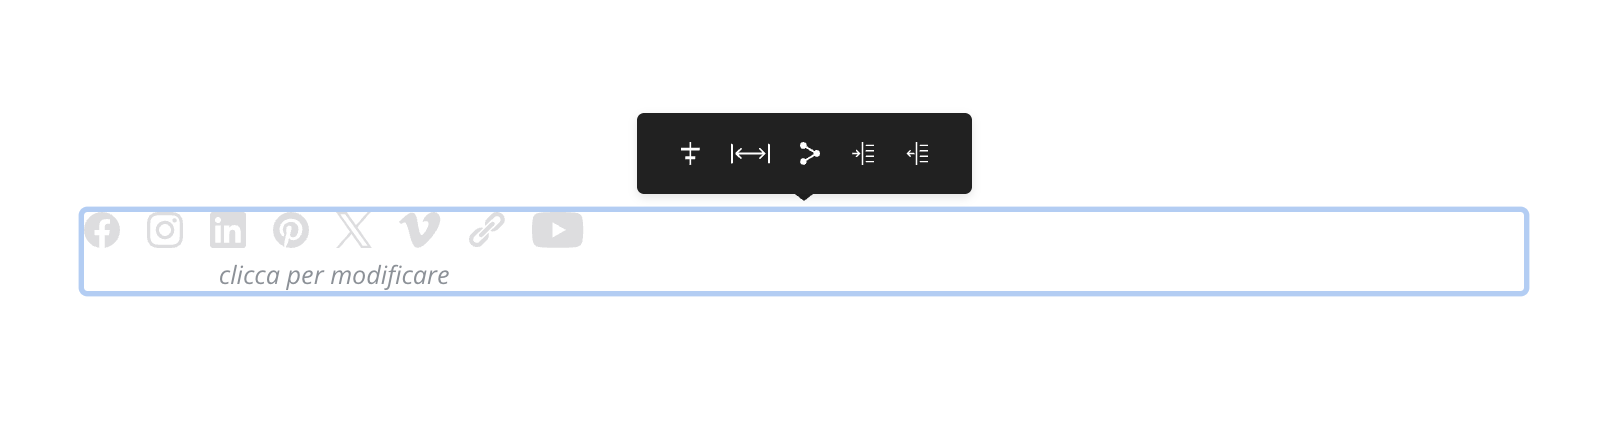
Add a social media box where your cursor is. The box appears in gray; click on it to open the formatting menu.
From the menu, you can configure the following options:
- Position: Places the social media box on the right, in the center, or on the left in the Insights section.
- Spacing: Customize the distance between icons by choosing 10, 15, or 20 px.
- Links: Type or paste the links to the social media accounts you want to display. To confirm each link, press Enter on your keyboard. Once you've entered a link, three icons will appear to its left: remove link, edit link, and open link in a new window. Leave the fields blank for social media accounts you don't have or don't want to include.
- Indentation: Choose whether to apply indentation to the box.
Separator
Insert a divider line within the Insight. You can customize the line's color using the color picker or by entering a HEX code directly.
Button
Create a customizable button with text and external links. By default, the button appears as a black rectangle: click on it to open the formatting menu.
From the menu, you can configure the following options:
- Button color: Choose the button color using the color picker or by entering a HEX code directly, such as #000000 for black. You can also adjust the transparency of the selected color.
- Borders: Choose the color, transparency, and thickness of the button's borders.
- Shape: Define the shape of the button, from square corners to rounded edges. If you prefer, you can enter the radius manually.
- Text color: Choose the color of the text inside the button.
- Text: Choose the font, style, text size, line spacing, and the text to include on the button.
- Size: Set the button size by manually entering the vertical or horizontal spacing.
- Position: Choose where to place the button in the Insight: centered, on the right, on the left, or indented.
- Link: Add the link to make the button clickable and link it to an external page.
Add Artworks

View on wall
This option is available only if at least one artwork has been set to " View on wall." To learn more about this feature, see the related article.
Artworks Grid, Pair of Artworks, Single Artwork
The " Artworks Grid," " Artworks Pair," and " Single Artwork " features allow you to add Artworks present in the Artworks section of Artshell.
Step 1: Select the feature you want
Click the desired function to display the gray preview that you want to edit. Then click the preview to open the formatting menu.
The menu displays the icon and two indentation features, which let you customize the layout of the Artworks the Insight.
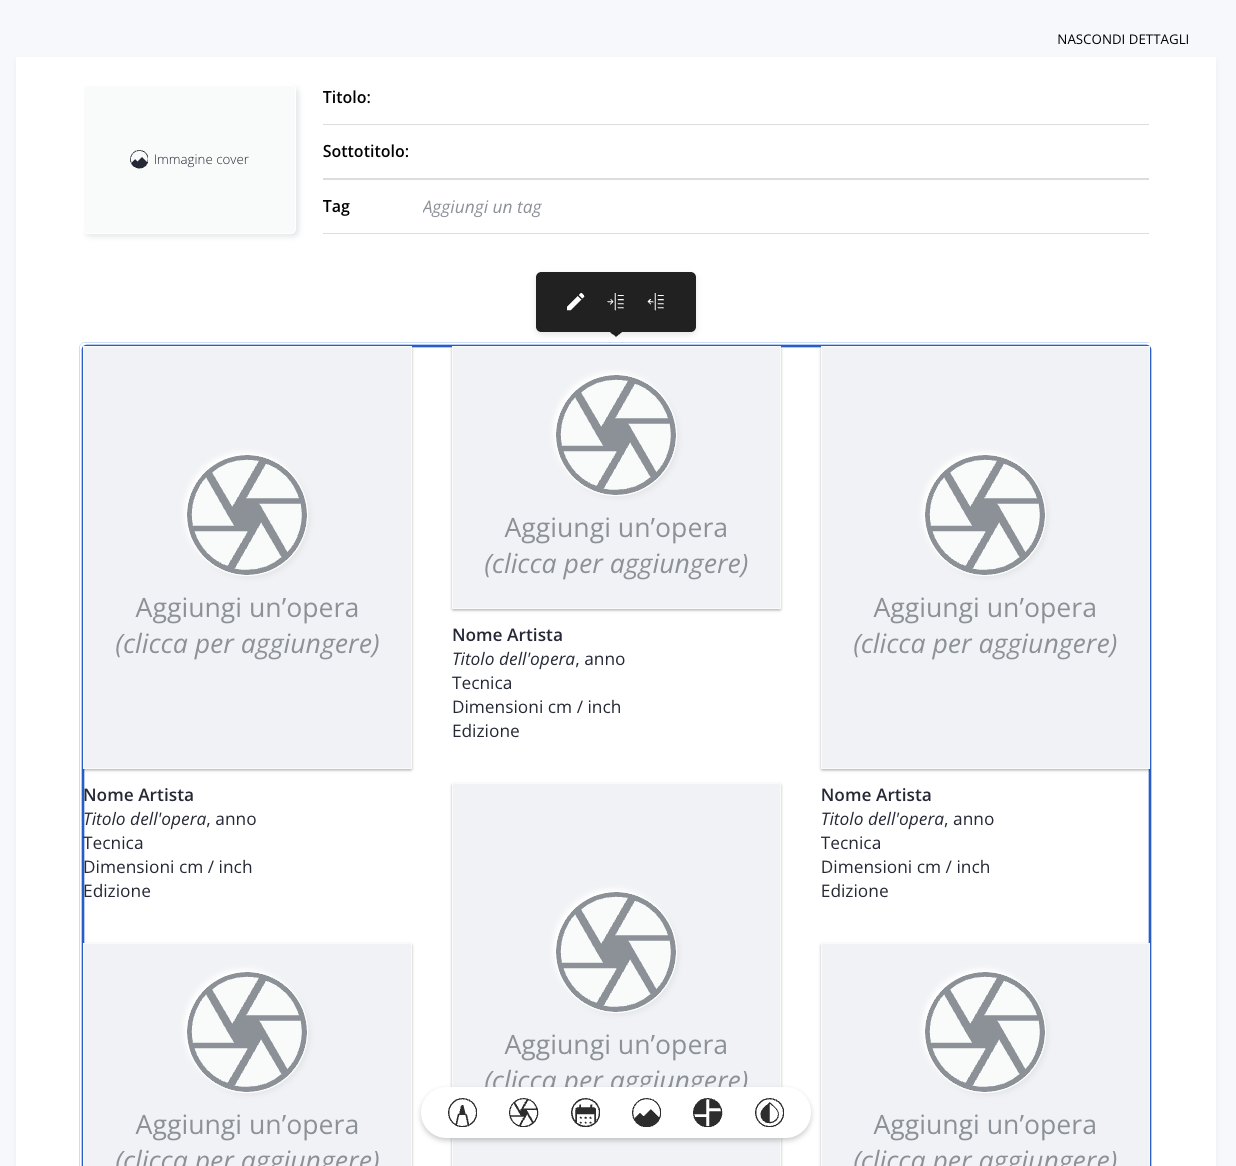
Step 2: Add the Artworks
Click the icon to open the sidebar on the right. From here, you can search Artworks or select the Artworks want to add to your Insight.
Step 3: Change the order of the Artworks
This feature is available only for the " Artworks Grid " and " Artworks Pair" functions.
After selecting the Artworks , click the green bar to view only the Artworks and change their order.

Step 4: Choose the content to include
Click " Add," then configure the content to include.
- Select the information you want to display, for example:
- Artworks Data: Select the toggles to choose which information you want the end user to see when they click on an artwork in your insights.
- Price: Choose whether you want to include the price and whether you want to customize it without changing the price listed in the record .
- Images and videos
- Folders and Files Please note that only content marked with an open padlock will be included.
- Select the language of the content.
Step 5: Finish adding the Artworks
Click "Continue" to finish adding the Artworks.
Use the indentation icons to customize the layout of the Artworks the Insight text.
Add events
With Artshell, you can add events to your insight. Select this option to see the gray preview appear, which you can then edit:

- Click the preview to view the formatting menu.
- Select the icon to open the panel on the right showing all events.
- Select the events you want to include and choose which details to display, such as Event Details, Dates and Times, Images and Videos, Folders and Files, and Artworks Details. Only content marked with an open padlock will be included.
- Click " Continue " to add the events to your Insight.
If you want, you can change the order of the selected events (only if you select more than two events).
After selecting the events you want, click the green bar to display only those you've chosen and reorder them using the hand icon.
Here is a brief demonstration:
Add media: files, videos, and images

Add media to your insight using the corresponding icon, and choose whether to upload Files, Videos, or Images.
File:Below, you'll see how to add a file to your insight.

Video:
Below, you'll see how to add a video to your insight.
In this case, a previously uploaded video was used; if you prefer, you can also use the link feature and add a video from Vimeo or YouTube. Select the icon and paste the link to the entry Video link.
Images:Below, you'll see how to manage an image within your insight. The upload process is the same as the one shown for files and videos.

Add complex media
It allows you to add a box consisting of an image flanked by text and an image slider.
Images and Text:Once you've selected the "Image and Text" option, click the gray preview to bring up the formatting menu. At this point, you can:
- Customize the color and transparency of the text background.
- Add an image, blur it, swap its position with the text, or resize it to fit inside the box.
- Manage text color.
- Select the font, style, size, and line spacing, then enter the text.
- Control the position of the text within the box and the indentation of the entire box on the page.
- Set the dimensions of the box.
The image slider lets you add a slideshow (carousel) of images to your insight. Once you've selected the slider option, click the gray preview to bring up the formatting menu. At this point, you can:
- Click the icon to add images. The slider can hold up to 20 images. Click the green counter to view only the selected images, and drag it to set the order in which you want them to appear in the slider. Finally, click Add to confirm your selection.
- Manage theindentation.
- Usethe last icon to choose how the slideshow is displayed: single, full-page images or a continuous view.
Edit Style
From here, you can control the style and layout of the entire insight.

Conclusions
Now that you know how to customize your Insights, you can learn more about the advanced features by reading the following articles: