Verify, add, and enable sender email addresses for your account
Introduction
This article provides a step-by-step guide to verifying your email address on Artshell, so you can use it as the sender when sending messages and newsletters to your Contacts.
Whether you're a new user or simply want to add more sender addresses, here you’ll find all the instructions you need to correctly configure the email addresses you want to link to your Artshell account.
Before we begin, a brief introduction
During the setup process, you may also be asked to make changes to the DNS settings for the domain associated with your email address.
Every email address consists of two parts: the username and the domain, which is the part that follows the @ symbol (for example , @gmail.com or @companyname.it).
- If you use a generic domain (such as Gmail, Outlook, or Yahoo), you won’t need to configure anything: these providers automatically handle all the technical settings. However, please note that using generic domains is not recommended for sending newsletters, as it significantly increases the risk of emails being marked as spam.
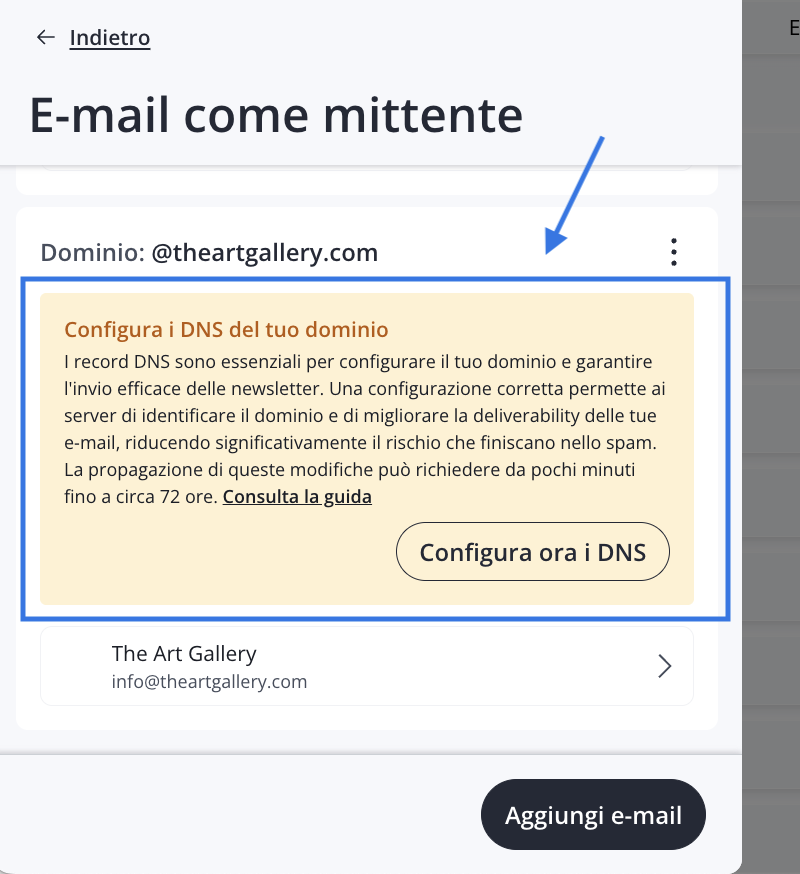
- If you’re using a custom domain, however, we recommend that you manually configure your DNS settings. These technical settings allow us to verify your identity as the sender and ensure that your emails reach their destination correctly. The configuration process is explained in the dedicated article: DNS Configuration.
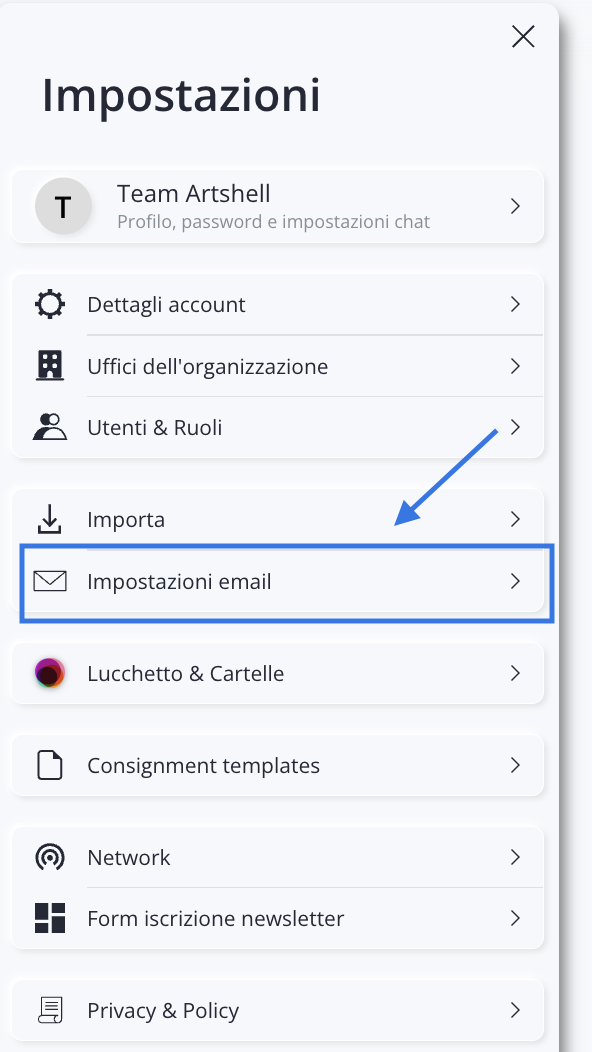
Check to see if your email address is verified
To check the status of your email address, go to Email settings by clicking the icon at the bottom left.
In the dedicated section, you will find the address you provided during registration. Depending on whether or not the orange sticker is present, proceed as follows:
The address has an orange sticker
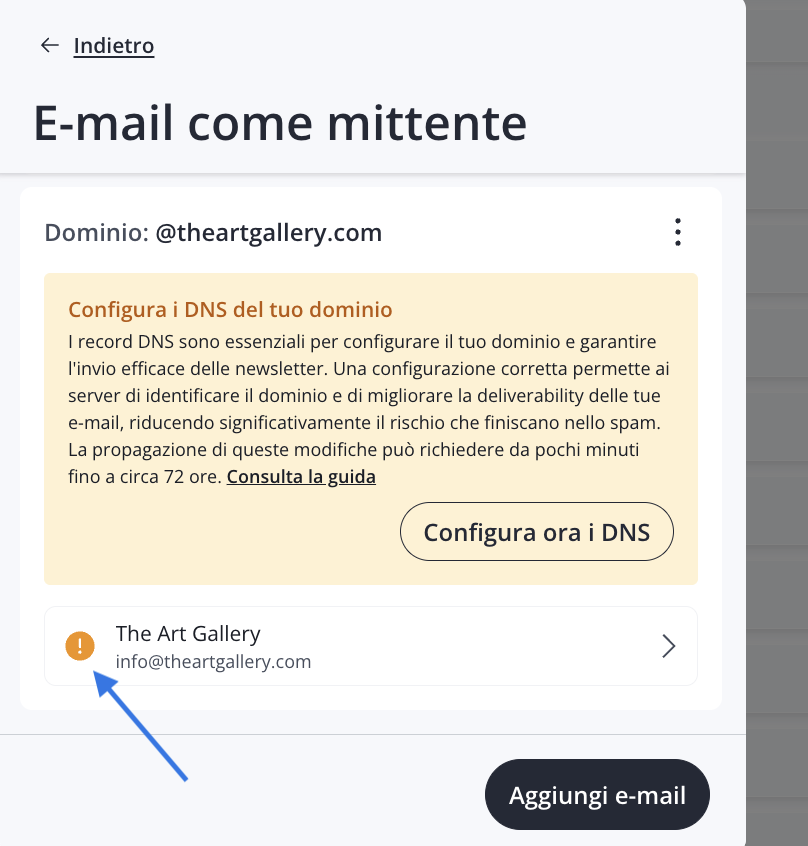
The orange sticker indicates thatthe email address has not yet been verified. This means you haven't yet clicked the confirmation link in the email sent to you when you registered.
To complete the process:
- Click the email address marked with an orange exclamation point.
- In the orange box at the bottom, select“Click here to receive it again.”
- Check your email inbox and click on the link you received to confirm your email address.
- If you don't see the email in your inbox, we recommend checking your spam or junk mail folders as well.
The address has no sticker
If there is no checkmark next to the email address, it means that it has already been verified and can be used to send messages.
In both cases:
- If you are using a generic domain (e.g. , @gmail.com, @yahoo.com, @outlook.com), as mentioned, you will be notified that it is not recommended to use this type of address for sending newsletters or communications to large groups.
- If you are using a custom domain (e.g., @companyname.it), we recommend that you configure the domain’s DNS settings. While this is not required, it is strongly recommended to improve deliverability and ensure that emails reach recipients successfully. For detailed instructions, see the DNS configuration guide.
Add more sender email addresses
Step 1: Go to Email Settings
Click the icon at the bottom left, then select the option Email settings.
Step 2: Add more addresses
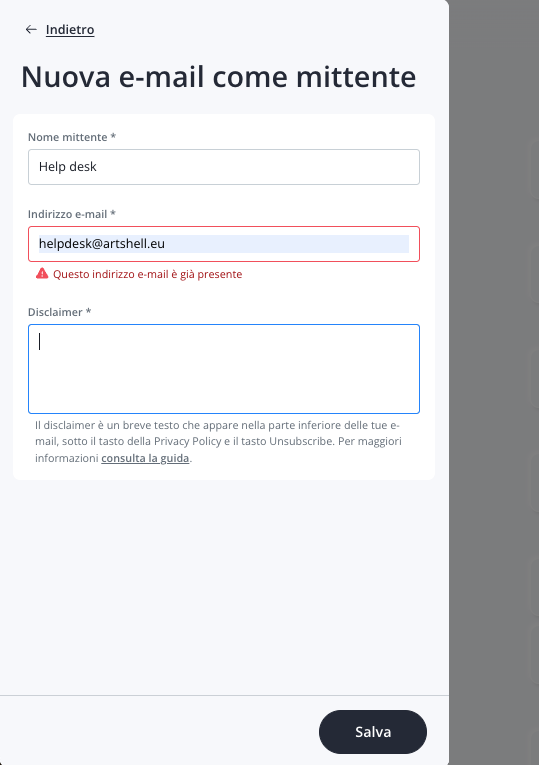
Click the " Add Email " button in the lower right corner and fill out the form with the following information:
- Sender's name.
- Email address.
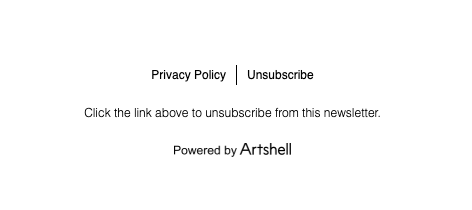
- Disclaimer: A short text that will appear at the bottom of each email, below the “Privacy Policy” and “Unsubscribe” links. See an example below.
You can enter text such as:
- To unsubscribe:
- You are receiving this email because: you are one of our customers, you have subscribed to our newsletter, or you have expressed interest in our products/services.
- Copyright © [year] [company name] - All rights reserved.
Below is an image showing how the disclaimer "Click the link above to unsubscribe from this newsletter" appears in an email.
Step 3: Verify the new email addresses
After adding a new address, you will receive an email from no-reply@artshell.eu with the subject line “Start sending emails and newsletters with Artshell”.
Inside, you'll find a link to click to enable the address as a sender.
If the new address belongs to a custom domain other than the one used for registration, a new domain section will be created. In this case as well, we recommend that you proceed with the DNS configuration.
Important! An email address set as the sender remains permanently linked to the account in which it was configured. This means that the same address cannot be used as the sender in other Artshell accounts.
Conclusions
Setting up your addresses correctly is essential for ensuring effective communication with your Contacts.
If you have any other questions or need assistance, please don’t hesitate to contact our support team by emailing us at support@artshell.eu
We're always here to help!