Organize events by tags and lists
Introduction
Artshell provides two essential tools for organizing and managing your events: the Tags and Lists. In this article, you’ll learn how to create, add, or remove one or more tags from your events and how to organize them into lists.
Prerequisites
We recommend that you read these articles before you begin:
Create and Manage Event Tags
Tags allow you to label and categorize events to make them easier to search for, organize, and export. Below are the actions you can take with tags:
Click the items below to expand them:
Create a new tag
There are two ways to create a tag:
-
From record :
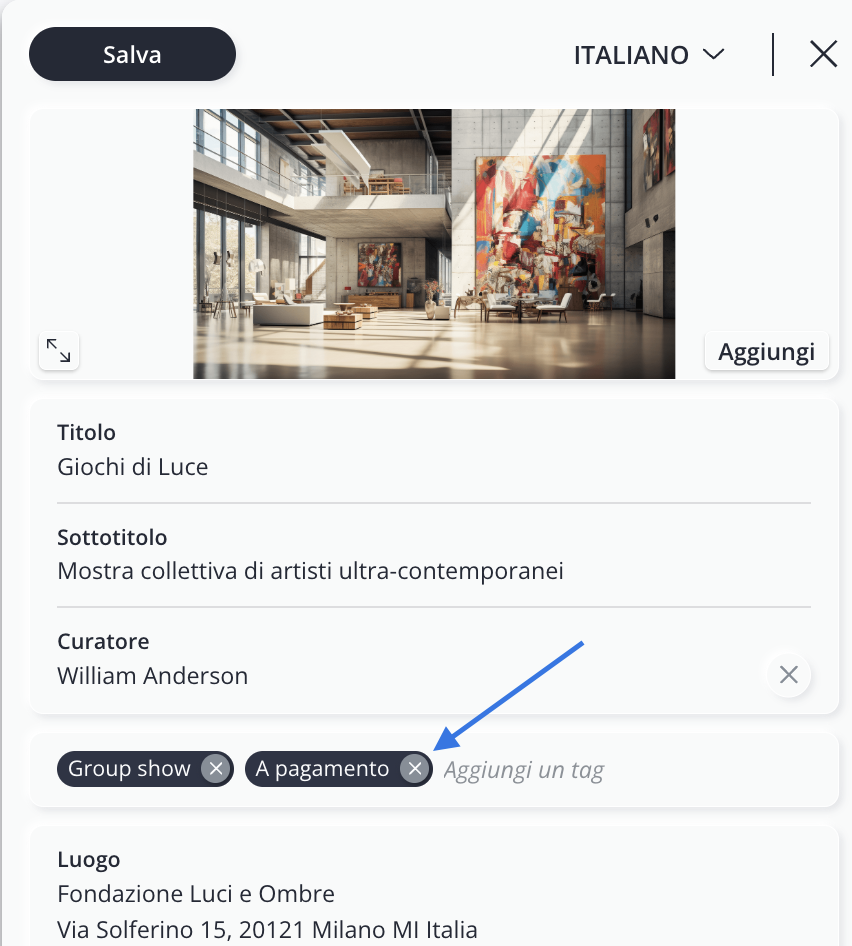
- Select an event, then click the icon Tap here to enter mode edit.
- In the " Add a tag" field, type the name of the new tag and press ENTER on your keyboard.
- Click " Save " at the top to confirm.
-
From the Manage section (recommended if you want to add the tag to multiple events):
Artshell lets you assign a tag to multiple events at once:

- Select events using theicon .
- In the panel Manage When you see it appear on the right, click Add tag. If the panel doesn't appear (for example, because your screen is too small), click the icon top right.
- Click + Create tag.
-
Enter the tag you want to create in the space provided, then click " Create Tag." Click " Cancel " to go back.
Note: The number in parentheses next to each tag indicates how many events are associated with that specific tag. - Click the "Add " button in the lower-right corner to apply the tag you created to the selected events.
Add an existing tag to a selection of events
- Select events with the icon .
- In the panel Manage Click on the icon that appears on the right Add tag. If the panel doesn't appear (for example, because your screen is too small), click the icon top right.
- Use the search bar to find the tag you want to assign, then check the box next to the tag to select it.
- Click the "Add " button in the lower-right corner to apply the tag to the selected events.

Remove a tag
There are two ways to remove a tag:
-
From record :
- Select an event, then click the icon Tap here to enter mode edit.
- Click the X icon next to the tag you want to delete to remove it.
- Click " Save " at the top to confirm.
- From the Manage panel (recommended if you want to remove the tag from many events):

- Select events using theicon .
- In the panel Manage Click on the icon that appears on the right Remove tag. If the panel doesn't appear (for example, because your screen is too small), click the icon top right.
-
Use the search bar to find the tag you want to remove, then check the box next to the tag to select it (you can also remove multiple tags at once).
Note: The " Remove Tags " area displays only the tags found in the records you have selected. - Click " Remove " in the bottom right corner to remove the tag.

Note: To permanently remove a tag that is no longer in use, you must delete it from all records which it has been applied. For complete instructions, see the article: How to delete a tag that is no longer in use.
Create and Manage Event Lists
With Artshell, you can organize and group events into an unlimited number of lists. As described in the introductory article “Organizing Content: Tags and Lists,” there are two types of lists: Manual and Automatic.
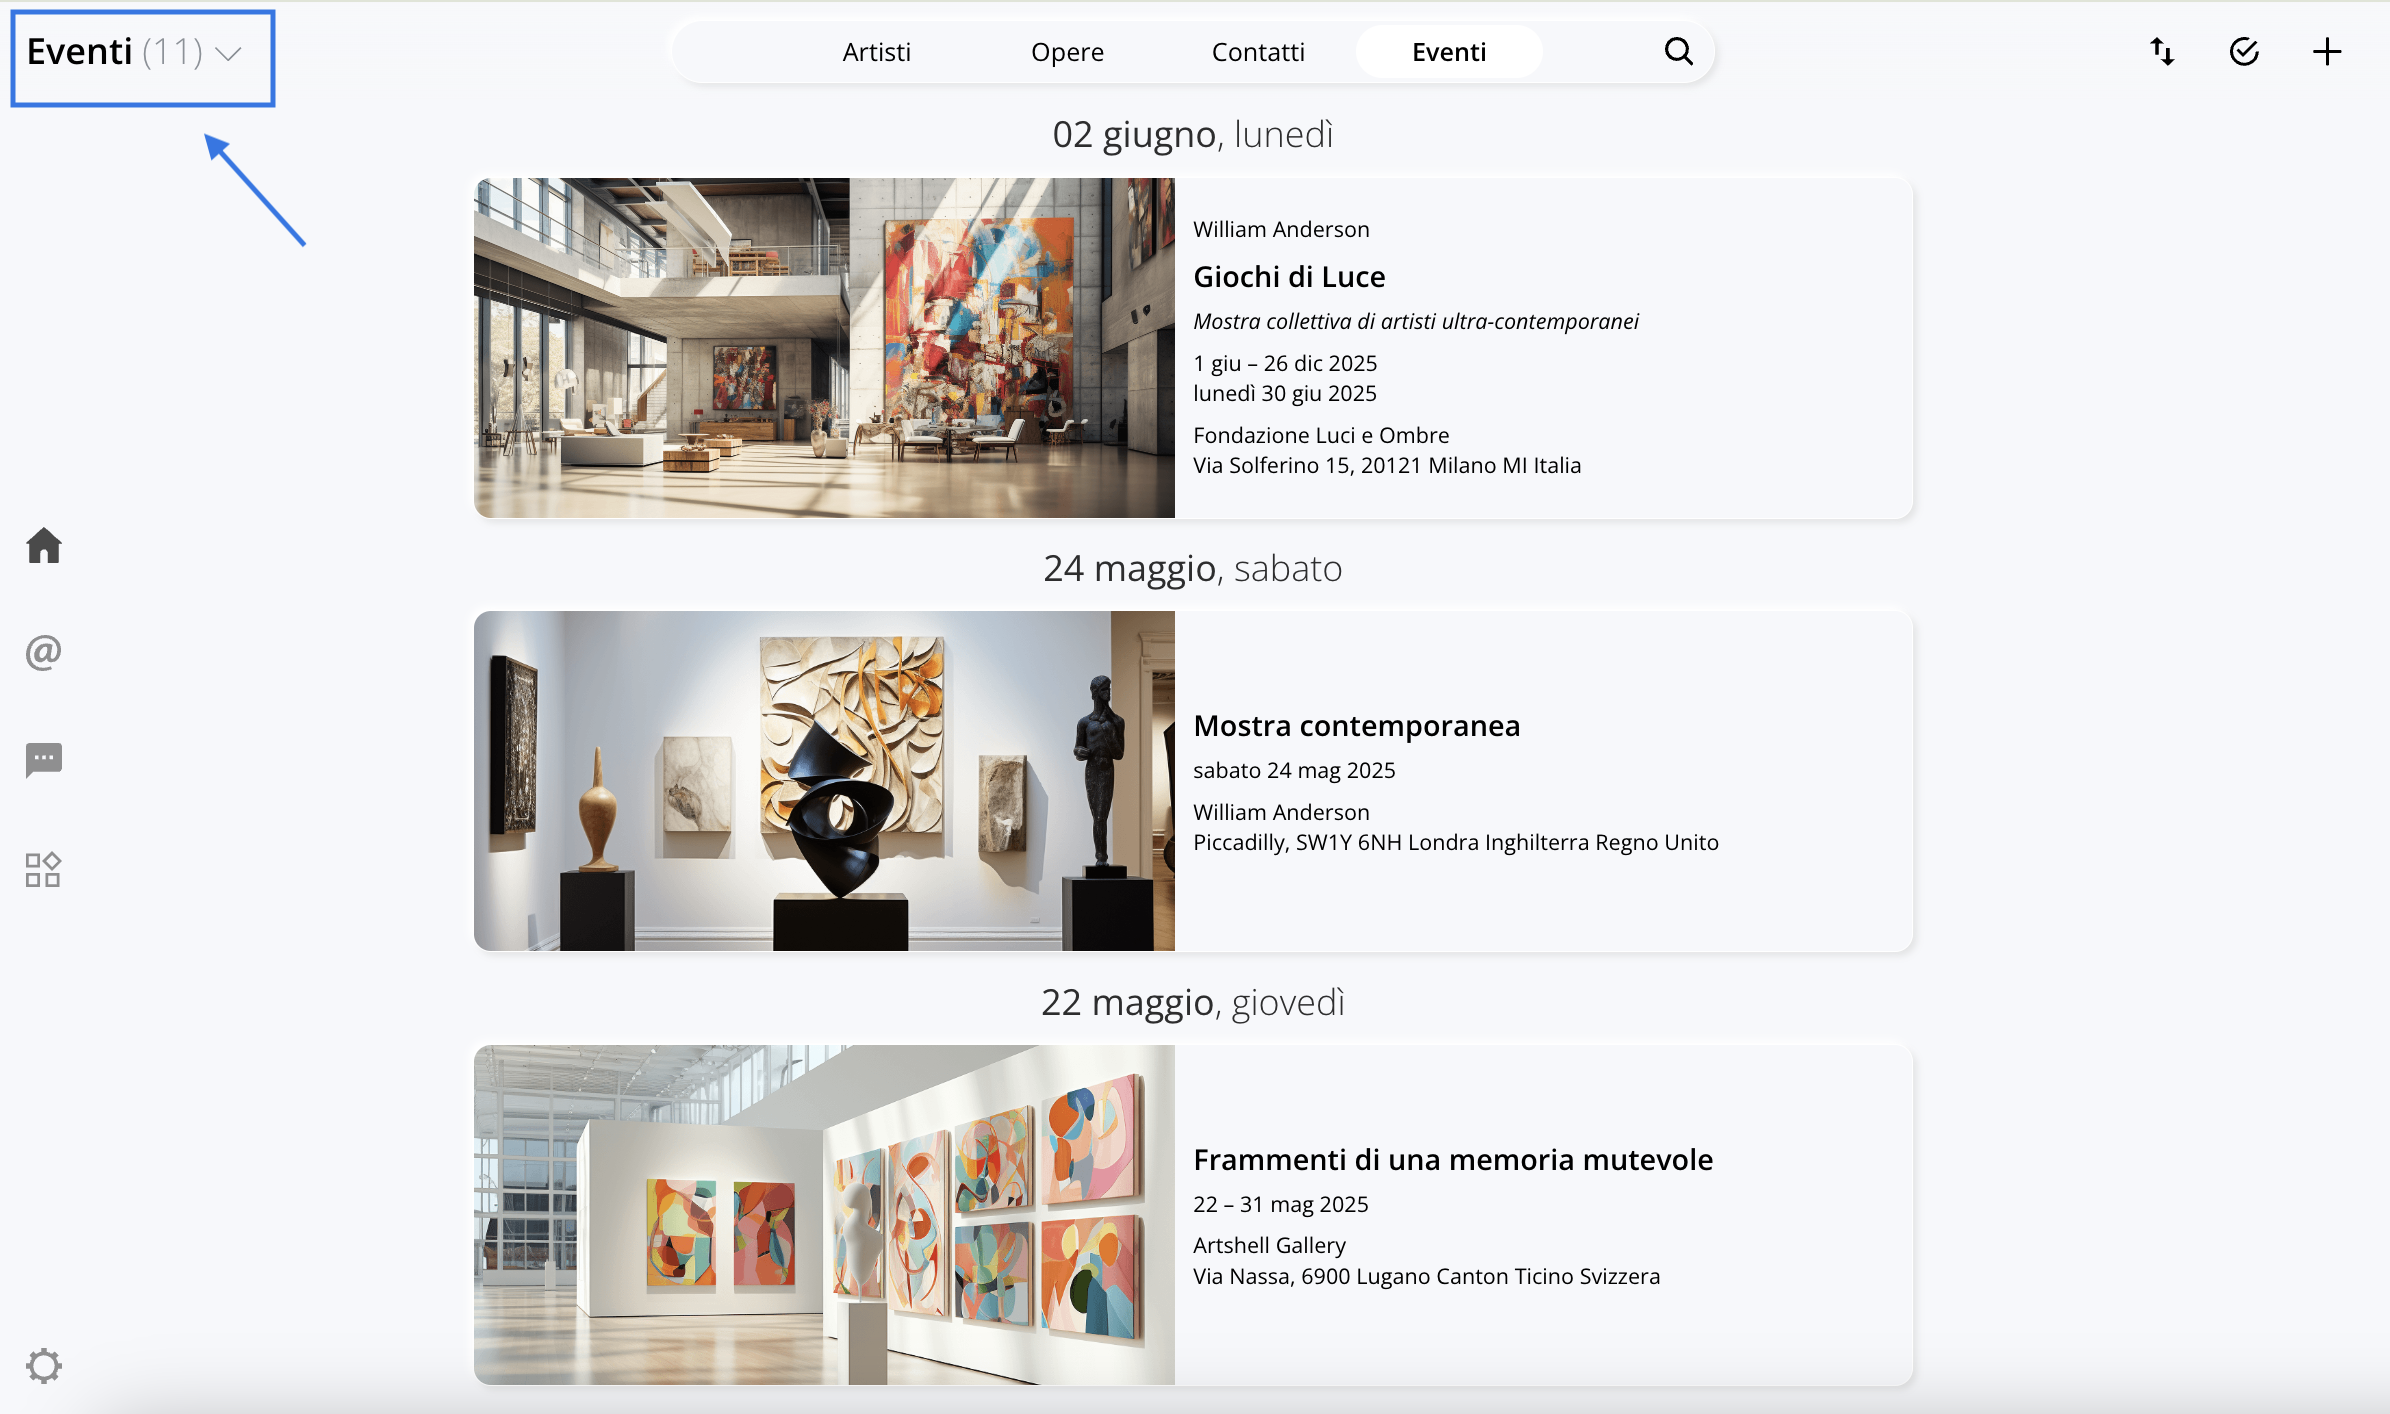
You can access the list of created lists by clicking the section title in the upper-left corner.
Create lists
Click the items below to expand them:
Create a list manually
To create a manual list—that is, a list that remains static over time:
- Select events using theicon .
- In the panel Manage When you see it appear on the right, click Add to list. If the panel doesn't appear (for example, because your screen is too small), click the icon top right.
- Since the list you want to add events to hasn't been created yet, click + Create List.
- Enter the name of the list you want to create in the space provided, then click " Create List." Click " Cancel " to cancel the operation.
- Click the "Add " button in the lower-right corner to add the selected events to the list you just created.

Create an automatic list
To create an automatic list—that is, a list that updates over time—start by using the search bar in the events section.
Enter one or more criteria you want to include in your list, and then click SUBMIT from the keyboard. The search results can now be saved by clicking theicon
top right.
Below is an example of events tagged as " free " and curated by William Anderson.
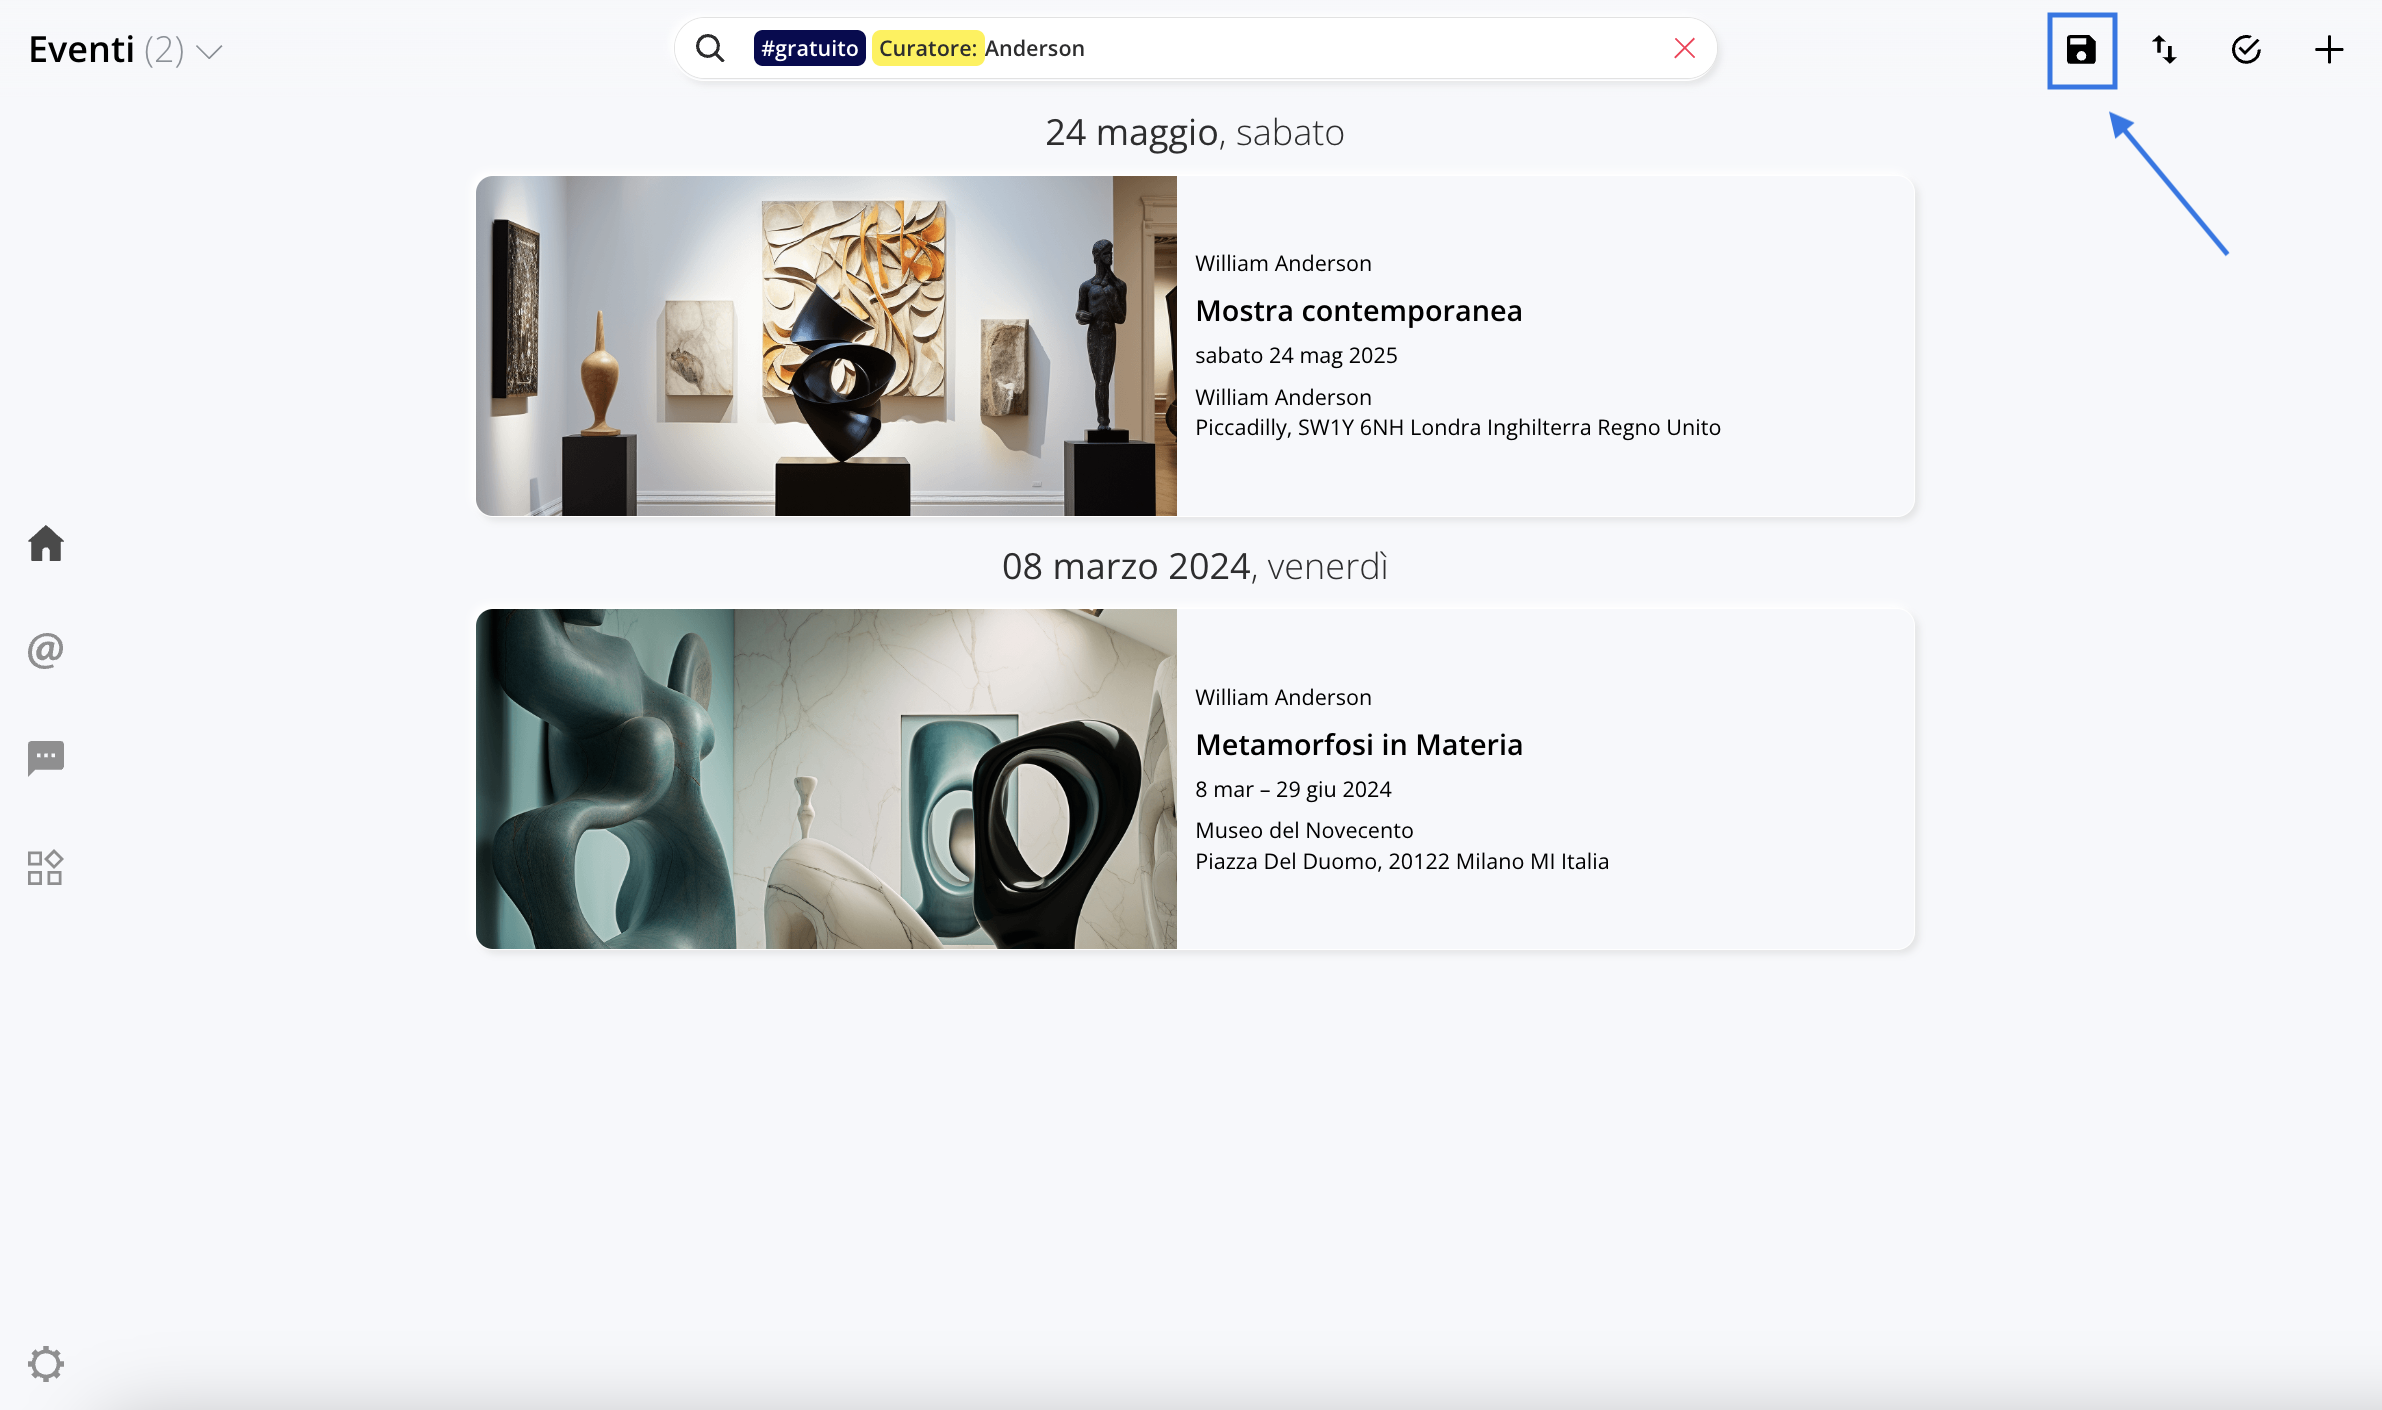
After clicking theicon
, choose the name of the auto-complete list. Finally, click Save list.

Manage lists
Click the items below to expand them:
Add items to an existing list
Add events to a list Manually:- Select events using theicon .
- In the panel Manage Click on the icon that appears on the right Add to list. If the panel doesn't appear (for example, because your screen is too small), click the icon top right.
- Use the search bar to find the list you want to add events to, then check the box next to the list to select it.
Note: The number in parentheses next to each list indicates how many events that specific list contains. - Click the button Add at the bottom right to add the events to the selected list.
Add events to an automatic list:
To include an event in an automatic list, make sure it meets the criteria you set when creating the list. The event will be added automatically as soon as it meets those requirements.Remove items from a list
Remove events from a list (Manual):
- Select events using theicon . If you want to remove a large number of events, we recommend opening the manual list directly to edit it.
- In the panel Manage Click on the icon that appears on the right Remove from list. If the panel doesn't appear (for example, because your screen is too small), click the icon top right.
- Use the search bar to find the list from which you want to remove the events, then check the box next to the list to select it.
Note: The number in parentheses next to each list indicates how many events that specific list contains. - Click the button Remove Click the bottom-right corner to remove events from the selected list.
Remove events from an automatic list:
Events are automatically removed from automatic lists when they no longer meet the defined criteria. To remove an event, simply make sure it no longer meets the requirements of the desired list.
Customize the order of the lists
- Click the " Events " section at the top left.
- Hover your cursor over a list to see the hand icon appear.
- Drag each list up or down to arrange them in the order you prefer.
Conclusions
Understanding and making the best use of tags and lists for your events in Artshell is essential for optimizing the management and viewing of your event history.
These tools allow you to categorize, group, and find events, whether you want a static selection tailored to specific needs or prefer a dynamic organization that updates automatically. Taking the time to learn and apply these features will save you valuable resources in your day-to-day management, ensuring greater accuracy and customization in your database.