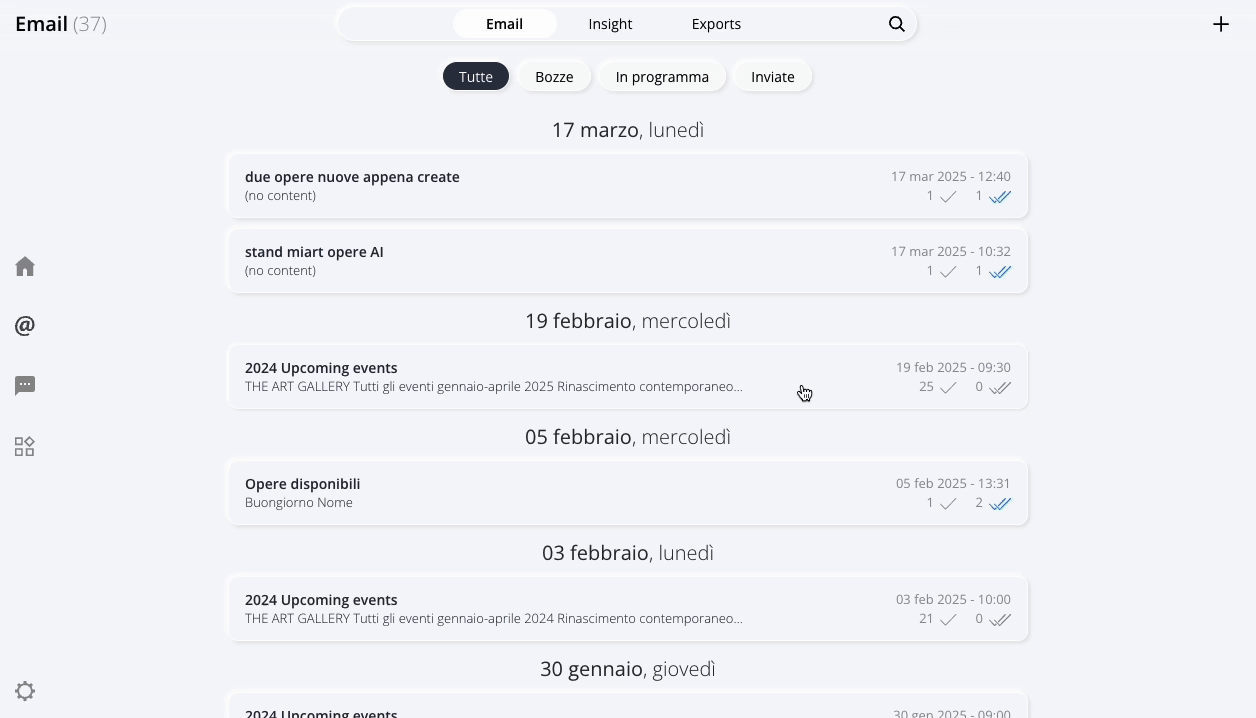
Make the most of the Email and Newsletter section
Introduction
In this article, you'll learn how to make the most of Artshell's features to manage your communications more efficiently.
You'll find instructions on how to duplicate, send a test email, schedule the sending and send to new recipients your emails in just a few simple steps, so you don’t have to start from scratch every time.
Duplicate an email or newsletter
Duplicating a message is a feature that allows you to create an exact copy of an existing email or newsletter.
Step 1: Select the message you want to duplicate
Click the message you want to duplicate (It may have already been sent or still be in Drafts ) then click the icon top right.
Step 2:Enter the sender and recipients
Once the message has been copied, you will be asked to enter the following again:
- the sender;
- the recipients;
- (optional) if you want to change the subject.
After completing these steps, you can save or send the duplicate message.
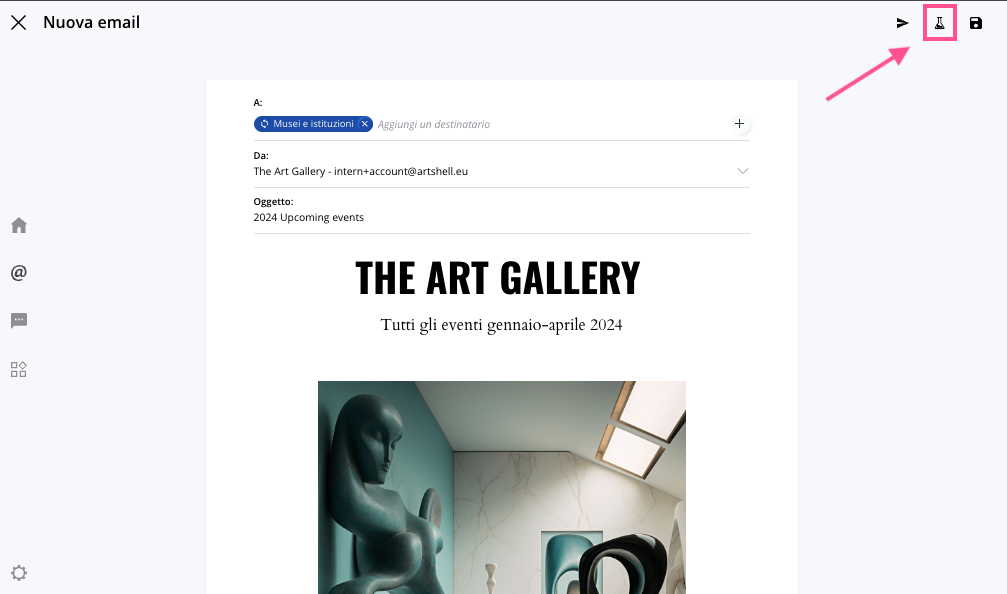
Send a test email
To preview the email and make sure all the content displays correctly, you can send yourself a test email.
To do this, select the draft of the message:
- Click the icon top right.
- Click Add recipient and select the address from the drop-down list. If the address isn't there, click the to add it. You can also enter multiple email addresses.
- Click Send.
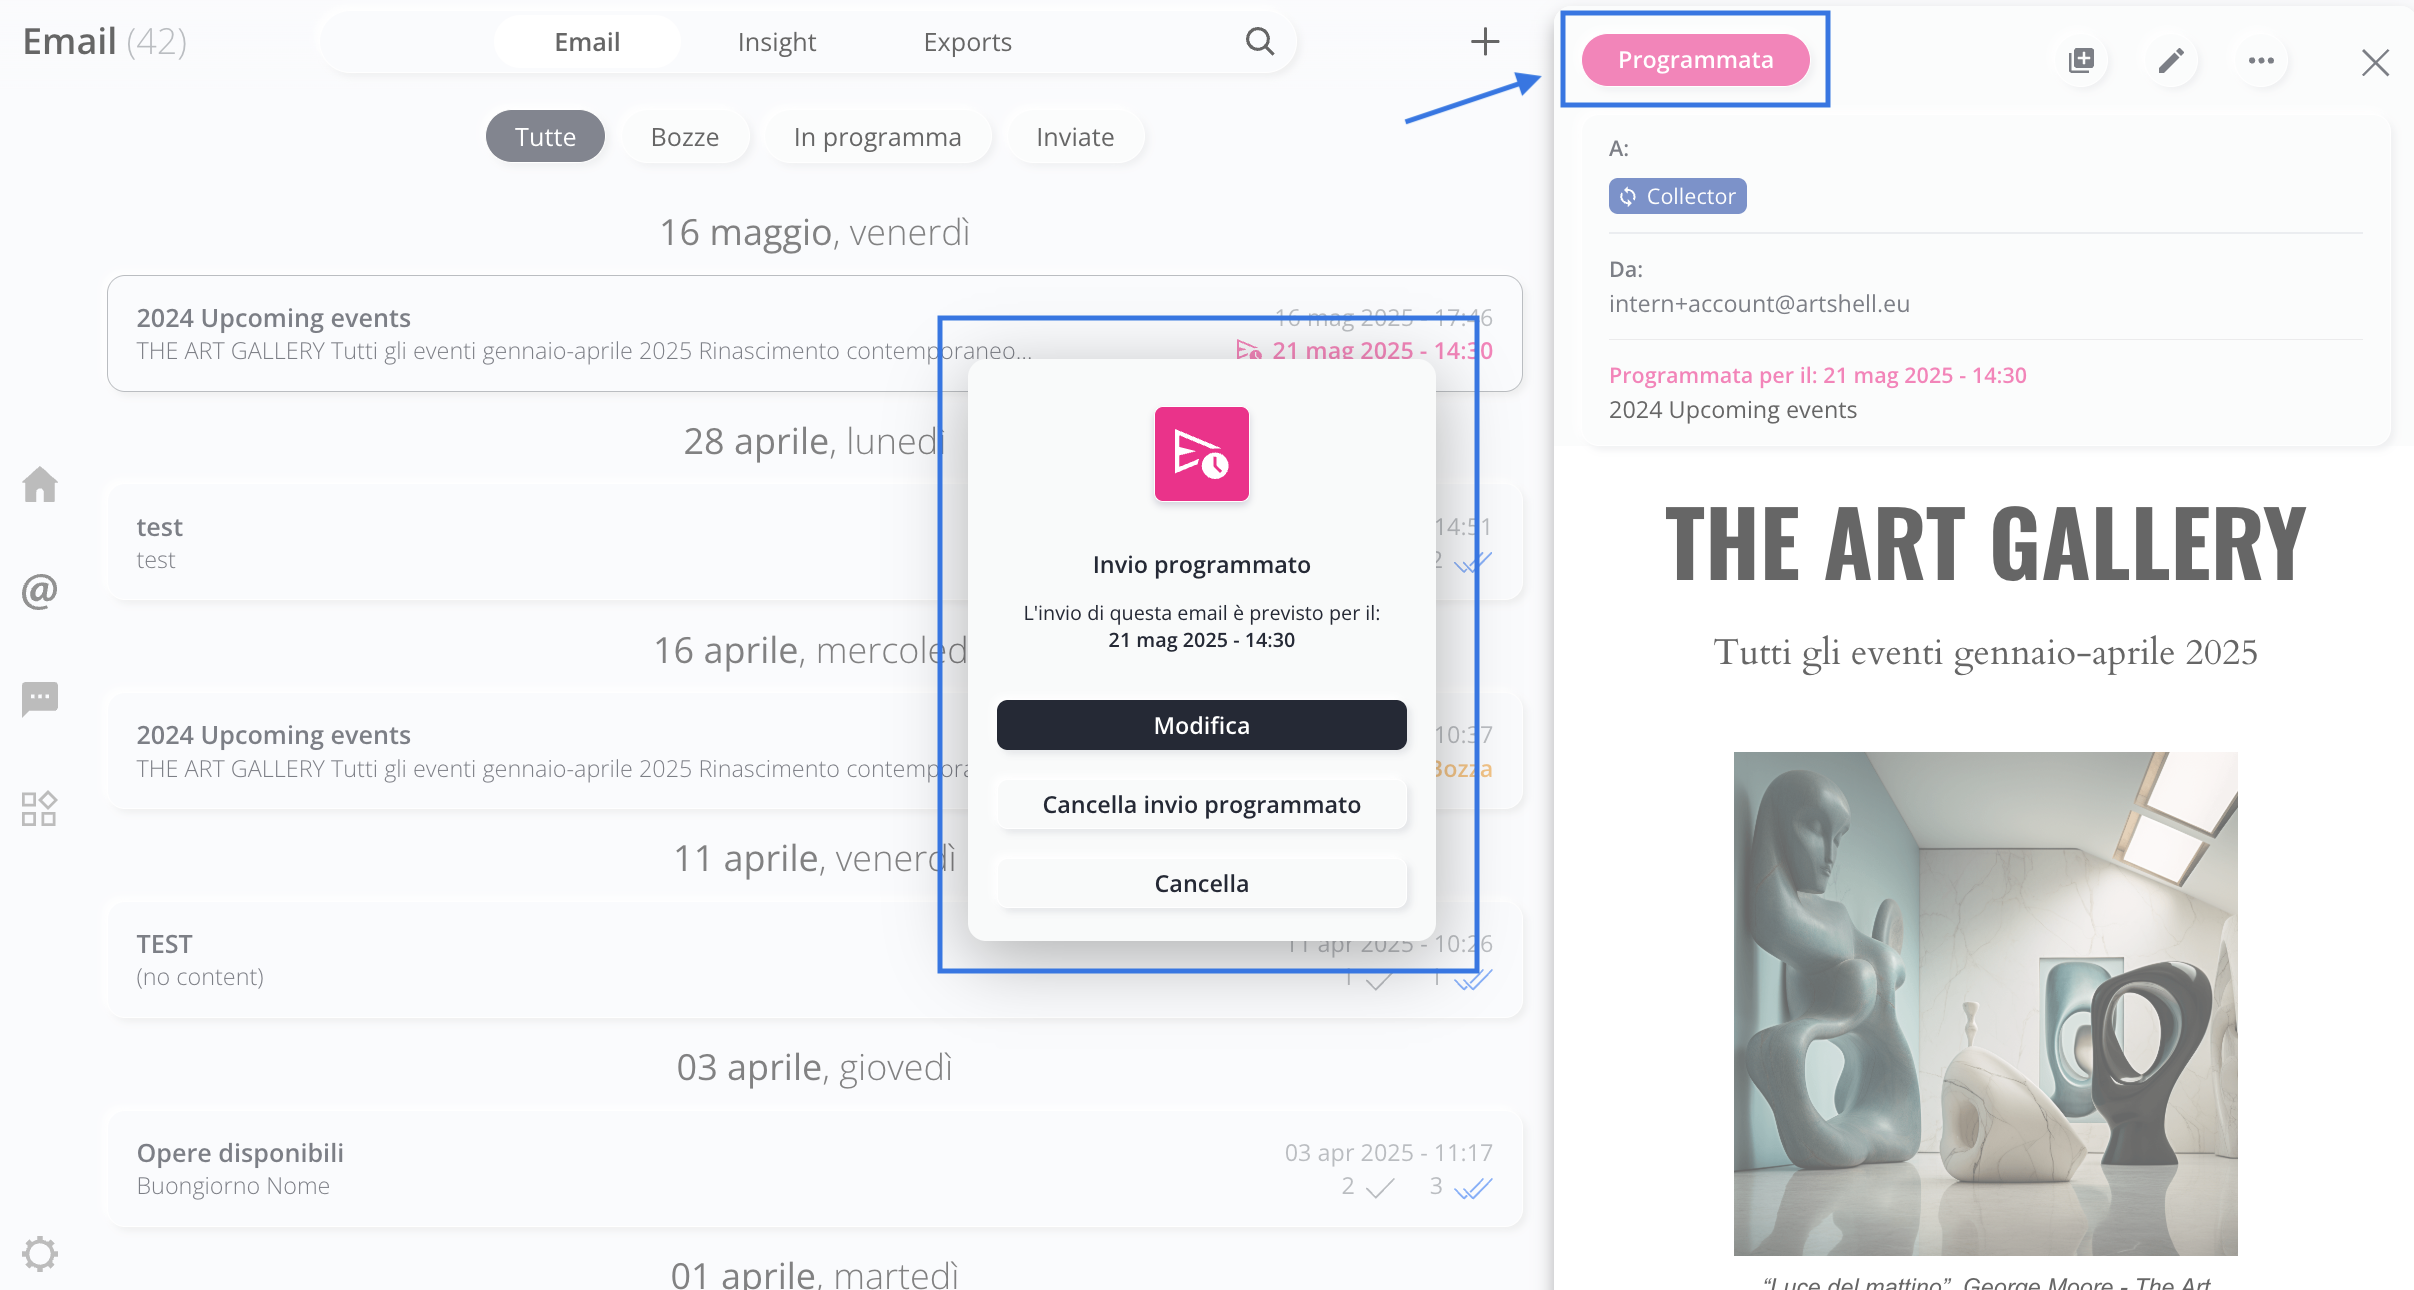
Schedule the delivery
To schedule the sending of your message:
- Click the icon top right.
- Click " Send Schedule " from the drop-down menu.
- Enter the date and time you want your newsletter to be sent.
- Click " Send Email " to complete the scheduling, or click " Cancel " if you want to go back and cancel the action.
If you need to cancel a scheduled email, click the pink "Scheduled" button. Select " Edit " to change the send date and time, or select "Cancel Scheduled Send " to return the email to draft status.
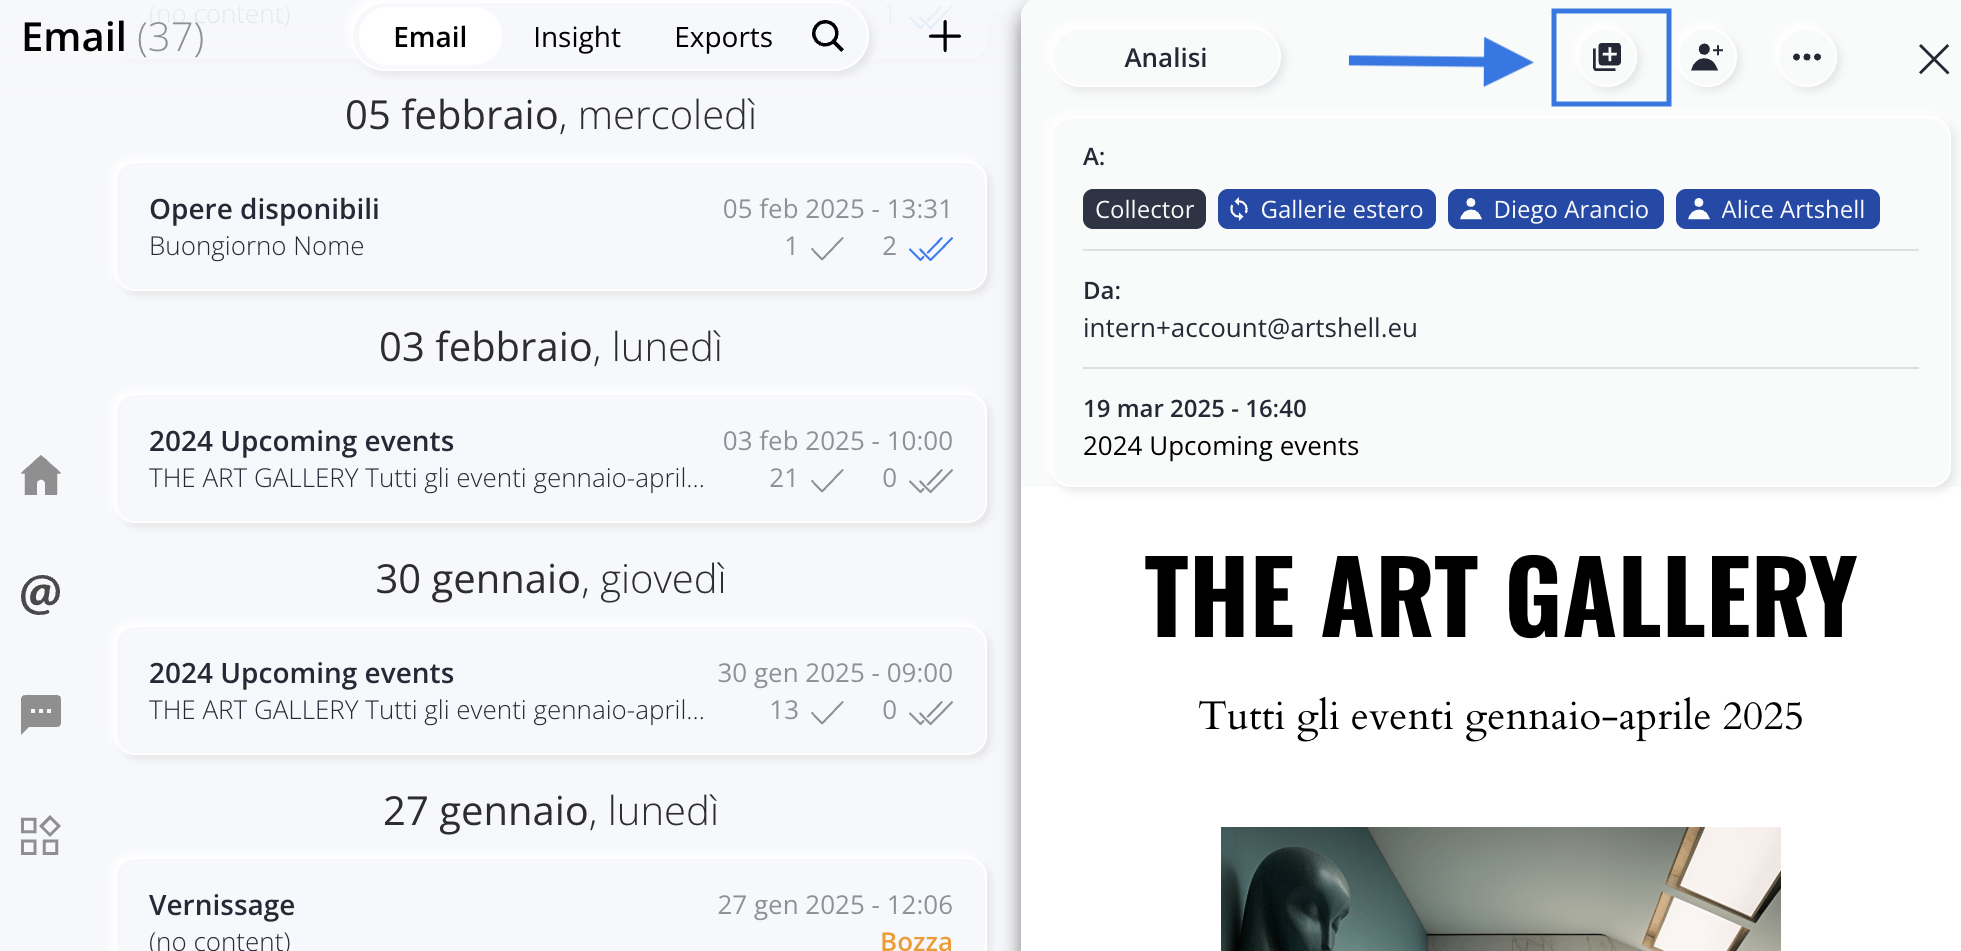
Add recipients to an email or newsletter that has already been sent
The "Add Recipients " feature lets you forward a message you've already sent to new Contacts, tags, or lists. (Click here to read the article on how to organize your Contacts tags.)
This feature is useful for:
- send the same email to new Contacts to existing tags or lists, without the risk of sending it multiple times to the same recipients. In fact, the system sends the message only to those who haven’t received it yet.
- collect submission reports in a single location, even for emails sent in multiple stages.
Important notes:
- With this feature, you can only add recipients;you cannot edit the email’s content. To edit the text or content, we recommendduplicating theoriginalmessage, making the changes, and then sending it.
- With the "Add Recipients" feature,you cannot schedule the email. If you want to send it later, we recommend duplicating the email, editing it if necessary, and then scheduling it for delivery.
Step 1: Select the message
Click on the email or newsletter that has already been sent, then click the icon top right.
Step 2: Add email addresses
In the "Add Recipients " panel that just appeared, select the individual Contacts, tags, or lists to which you want to send the email.
If a contact isn't in your address book, you can add them by clicking the + next to " Add Recipient."
Step 3: Submit
Click " Submit " in the upper right corner to send the form.
Here is a brief demonstration:
Conclusions
Taking a little time to familiarize yourself with these features will save you time and effort in the future.
Your communications will be more organized, personalized, and effective.
To continue your training and learn more about what you can do with Artshell emails, check out these articles: