
Add an artist
Introduction
In Artshell, you can create a record for each artist to collect personal, biographical, and organizational information.
In this guide, you'll learn how to create a new artist and fill out their record.
Do you have a lot of artists to add?
If you need to import a large number of artists, you can rely on Artshell's Concierge service. (Learn more about the Concierge service.)
Before You Begin
If you're on an Artshell Artist plan, you can create only one record within your account.
After saving the first artist, the ➕ button for creating additional artists will no longer be available. You can still edit the record at any time.
If you need to manage multiple artists, please contact our Sales team at sales@artshell.eu.
Step 1: Create a new record
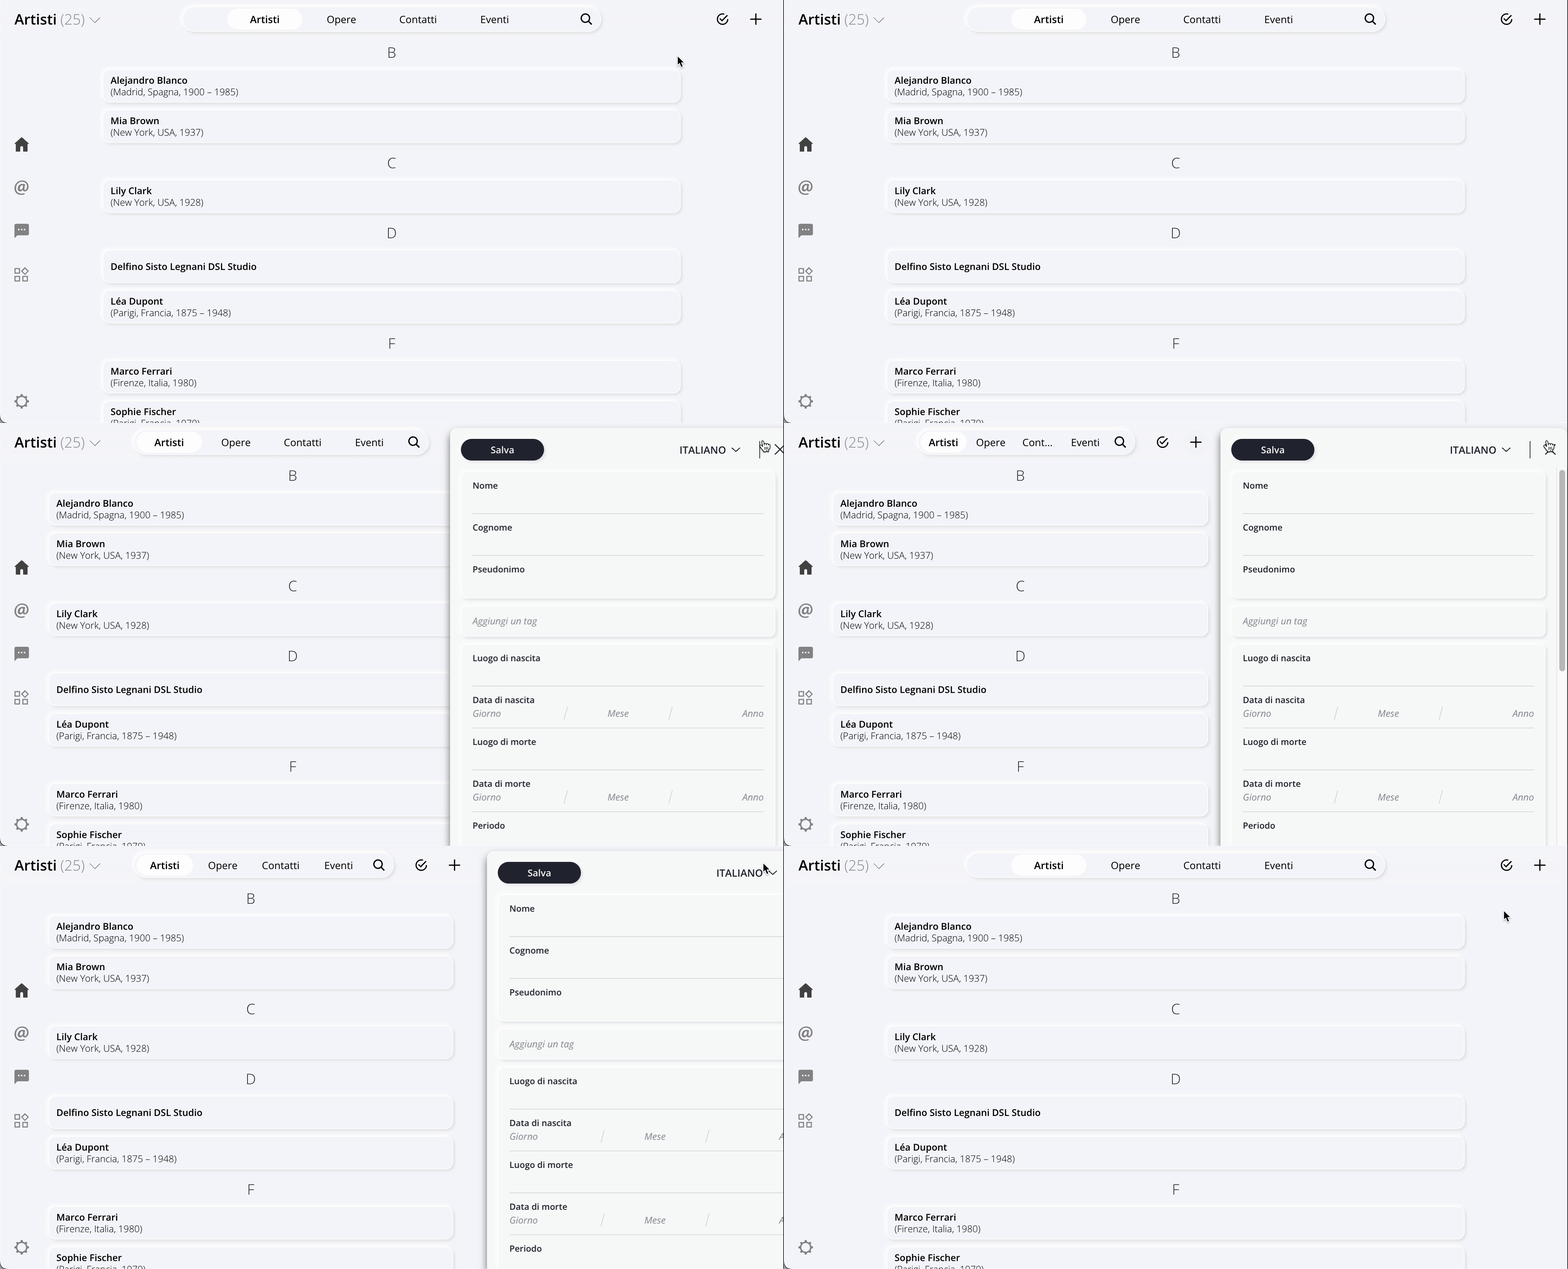
Click the top right for Open the record, which is a sidebar on the right where you can enter all the artist's information.
Step 2: Fill out the record
The record consists of several sets of information.
Personal Information
Please fill in the fields:
- Name
- Last name
- Pen name (if any)
Tags
You can add one or more tags to categorize artists and find them more easily when searching.
To learn more about how tags work, see the dedicated article: Organize Artists with Tags and Lists.
Biographical Information
You can enter:
- place of birth;
- date of birth;
- place of death;
- date of death;
- the artist's active period.
Artist Classification
This section allows you to provide a more detailed description of the artist's profile.
You can specify:
- Type of artist, such as painter, sculptor, or photographer;
- School or movement, by selecting it from the drop-down menu;
- a description of the school or movement;
- nationality, by selecting it from the menu;
- an additional description of nationality, if necessary.
Add folders and attachments
If necessary, you can associate folders and attachments with the record .
This section is useful for compiling documentation, in-depth materials, or other files related to the artist.
For more information, see the related article: The "Details" tab in Artists.
Step 3: Save the record
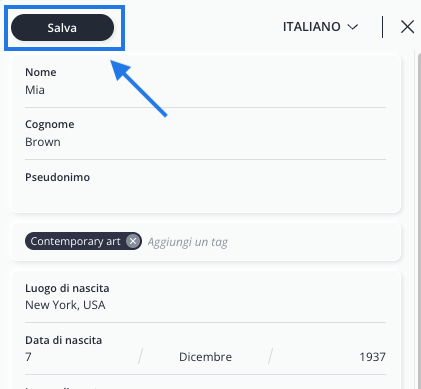
When you're done filling out the form, click " Save" in the upper-left corner of the record.
The artist will be added to your collection.
Conclusions
You have successfully created a new record .
If you need to update information or delete an artist in the future, please refer to the relevant articles.