Set up your basic information: User Profile, Logo, and Venues
Introduction
To make your profile complete, it’s essential to customize your Artshell account details.
In this article, learn how to customize your user profile, choose a name and logo and manage information about your venues. By following these simple steps, you can create a professional profile that represents your organization.
Customize your user profile
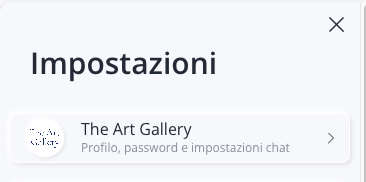
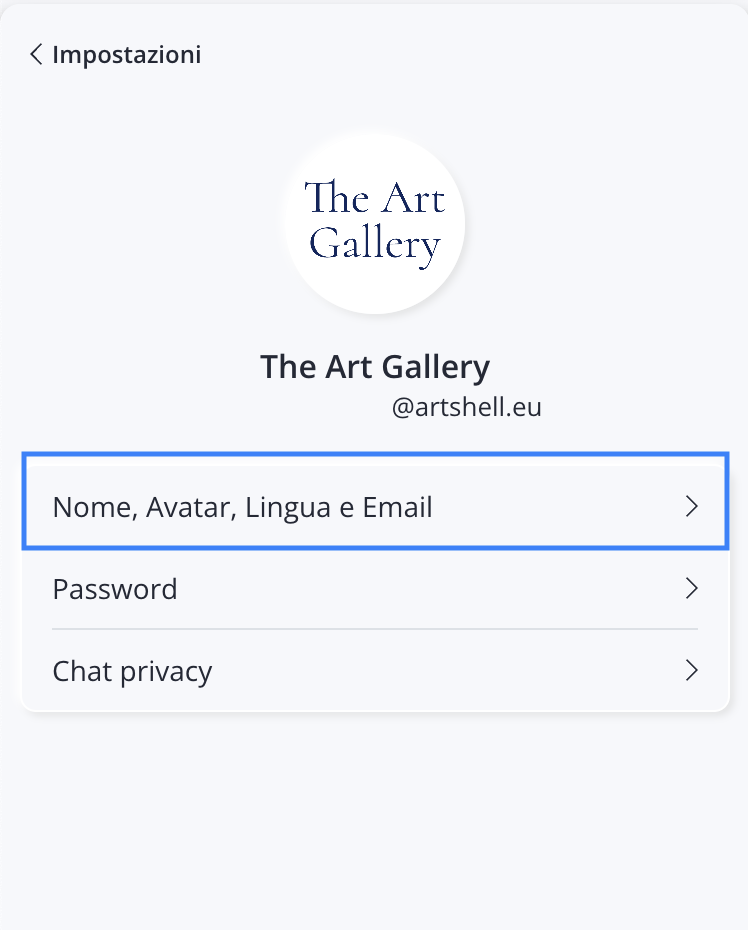
Click the icon at the bottom left, Select the first entry with your account name, and finally click the first option Name, Avatar, Language, and Email.
Currently, your email address and the first letter of your email are displayed as your avatar. Follow the steps below to customize your profile picture, first name, last name, and profile language. Please note that your email address cannot be changed.
Upload your profile picture
- Click the icon to open the Medialibrary Library.
- Click the to the right of the search bar to upload an image from your computer.
- Select the image you want to upload, decide whether to rename the file (we recommend naming it "Avatar" so you can easily find it later), and click Upload in the top-left corner to proceed with the upload.
- Once you've uploaded the desired image to Artshell, select it and click " Add " in the upper-left corner.
- Click Save to confirm your changes.
Enter First Name and Last Name
Here you can enter your first and last name.
Set your profile language
Set or change your account language; you can choose between Italian, English, and French.
Name and Logo
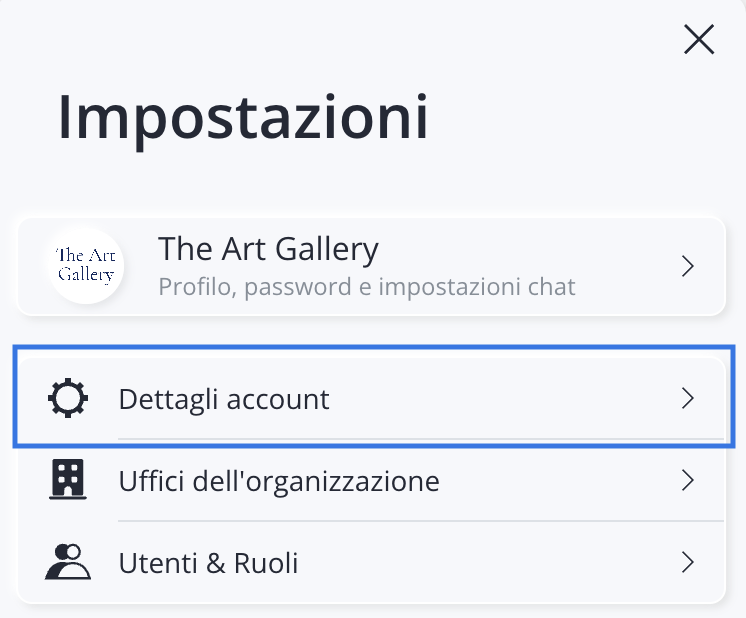
To customize the Name of your account and the Logo, click the icon at the bottom left, and then Account details.
This data will be visible in the exported files or when you share your content.
Here you'll find two fields:
Account name: This field is already filled in; it’s the name you chose when you registered. If you’d like, you can change it again by clicking on it.
Logo image:
- Click the icon to open the Medialibrary.
- Click the to the right of the search bar to upload an image from your computer.
- Select the image you want to upload, decide whether to change the file name (we recommend naming it "Logo" so you can easily find it later), and click Upload in the top-left corner to complete the upload.
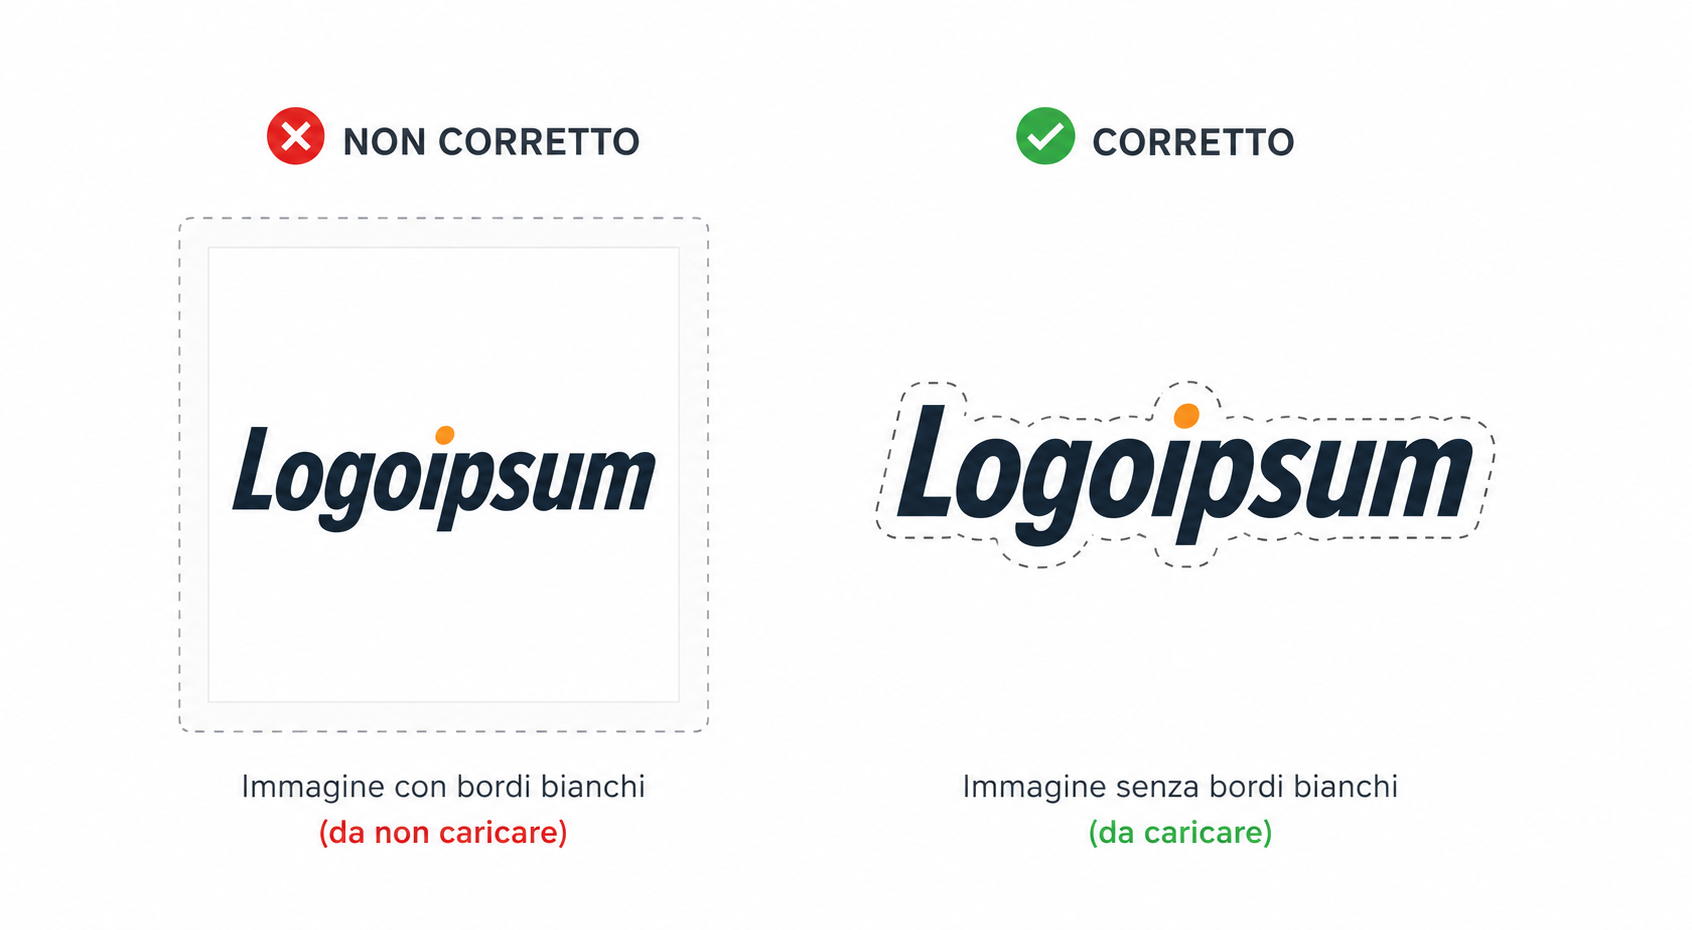
- Once you've uploaded the desired image to Artshell, select it and click " Add " in the upper-left corner.
- Click Save to confirm your changes.
Medialibrary:This is where all the images, videos, and files you upload to Artshell are stored.The features of Medialibrary explained in detail in the dedicated article; if you haven’t read it yet, we recommend taking the time to do so after you’ve finished uploading your logo.
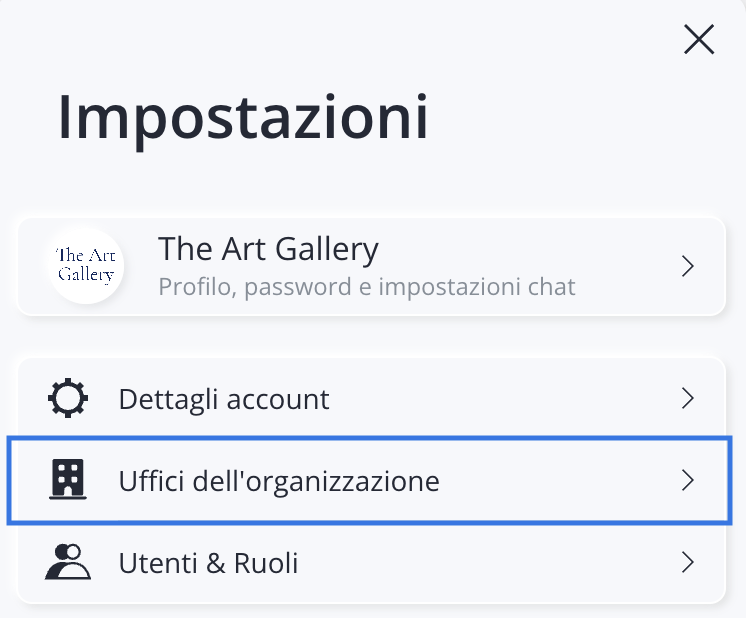
The organization's venues
Add a new venue
To add venues for your Gallery, Collection, or Archive, click the icon at the bottom left, and then The organization's venues. The information entered in this section will also be available in other areas of Artshell (e.g., Export), where you can choose whether or not to include a footer.
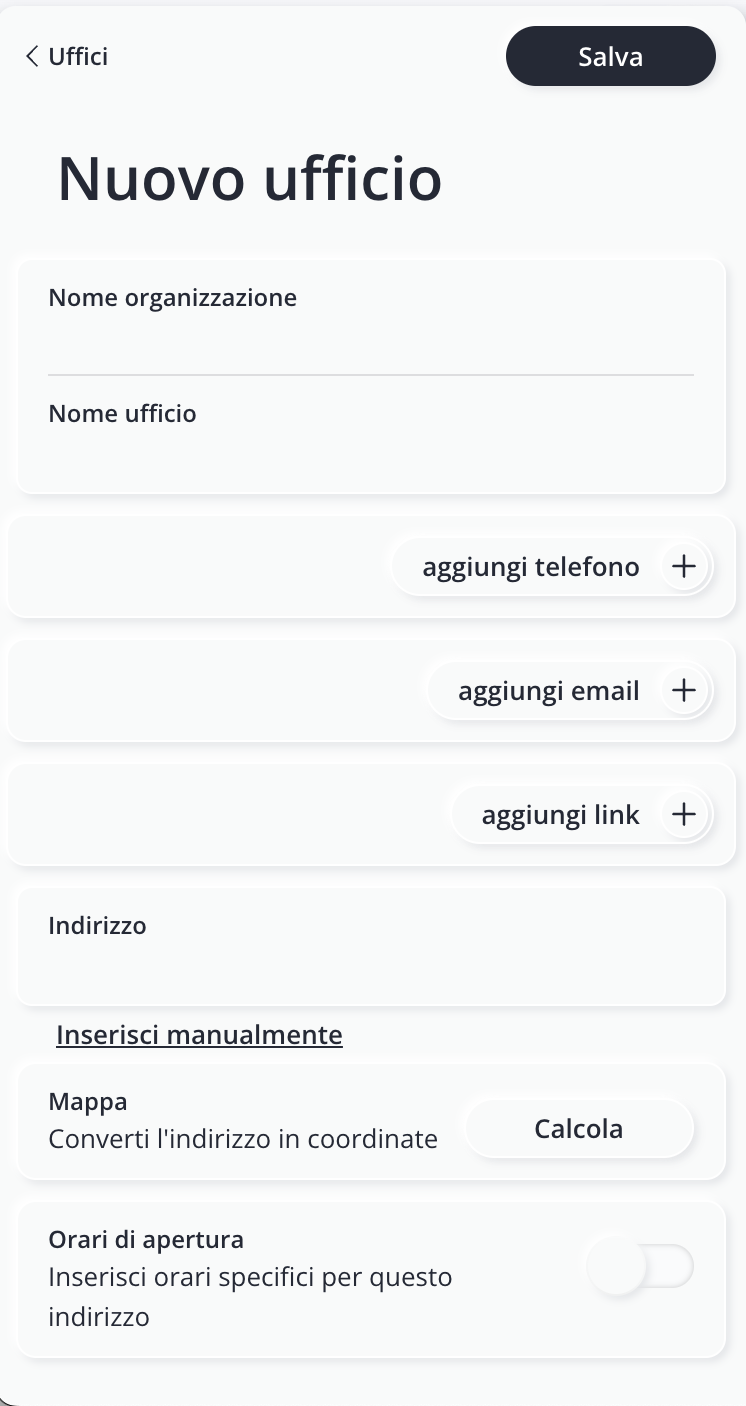
- Click " Add" in the upper-right corner to open the form for a new venue.
- Please fill in the fields. None of the fields are required, but we recommend that you provide all the information.
- Click " Save" in the upper-right corner to confirm the information.
Edit or delete an existing venue
To edit the details of a saved venue, click on an venue and edit the desired fields. Click Save in the upper-right corner to confirm the information.
To delete a saved venue, click the icon and choose Delete venue
Conclusions
With this article, you’ve gained the skills needed to customize your profile. Now you can move on to setting up the other aspects of your account to make the most of all the features Artshell has to offer: