Introduction
This article guides you through all the steps needed to add a contact from scratch, edit or delete an existing one. Here you can also find explanations of the fields you can use to describe your contacts in Artshell.
Add a contact
Step 1: Create a new card
Click the icon at the top right corner to open the contact card which appears on the right side of the screen, where you can enter the contact's details.
Tip: You can start by filling only the most important fields and add more later.
Step 2: Fill in the fields
Here’s a list of all the fields available in the contact card.
Click each section to expand and view more details:
First Name, Last Name, Company
Enter the contact's first and last name and the company they work for.
Add tag
The
Tag field lets you assign labels to organize and group your contacts.
Click here to read the dedicated article on Tags.
Add email
Enter one or more email addresses for the contact. After entering an address, you can choose a label: a label: Personal, Work, Other, or Custom.
Add phone
Add one or more phone numbers. You can label each one as: Mobile, Work, Home, or Custom.
Add address
You can associate one or more physical addresses with the contact.
Add contact
Use this field to link the current contact with other existing contacts. You can label each one as: Assistant, Press office, Other, or Custom.
Note: Linking is not reciprocal. For example, to link two spouses, you'll need to perform the action in both contact cards. Additionally, email addresses added in this field are not considered recipients when sending communications to the main contact.
Add link
Paste one or more URLs to associate with the contact, and choose a label for each: Website, Instagram, and Facebook, or Custom.
Billing information
Company Name: enter the contact's company name.
Billing address: provide the full billing address.
VAT Number: enter the VAT number if applicable.
Tax Code enter the Tax Code (Codice Fiscale) if applicable.
Email: here, you can enter an additional reference email address.
Important: This billing email address is not used for sending emails or newsletters and will not receive any communications from Artshell.
Contact Type, Position, Nationality, and Date of Birth
Contact type: here, you can specify the type of contact, such as Supplier, Gallery, Collector, Press, etc.
Position: specify the contact’s job title.
Nationality: choose the contact's nationality from the drop-down menu.
Date of birth: enter the contact's date of birth.
Notes
Add any other relevant information or details about the contact.
Add document
Upload any documents related to the contact.
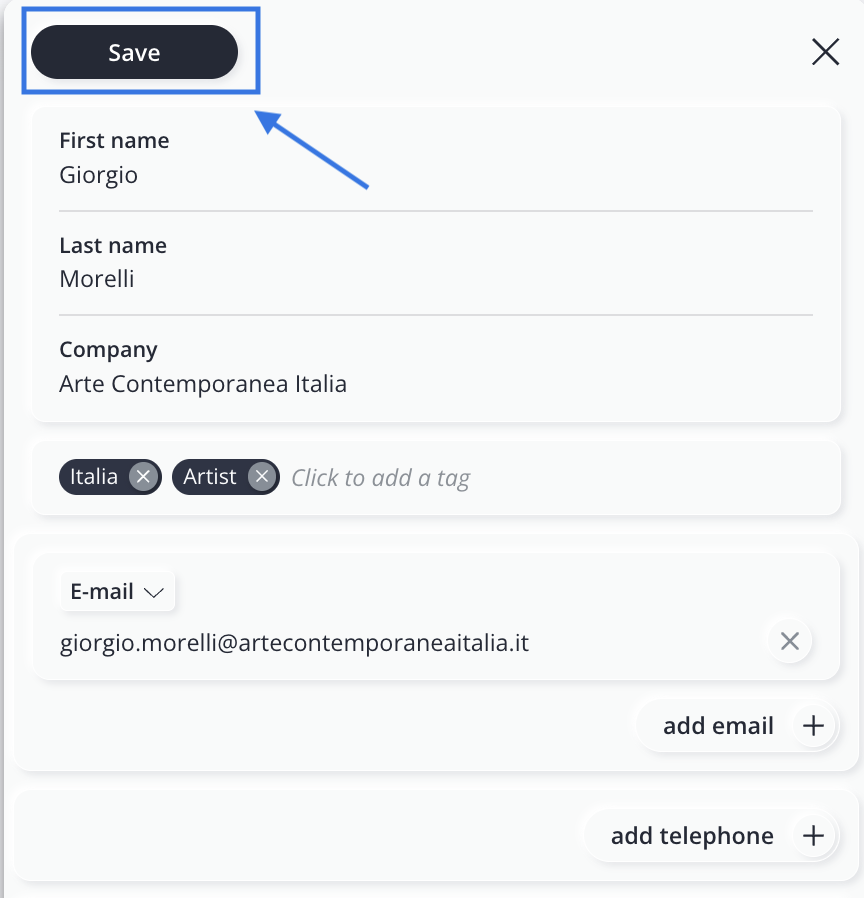
Step 3: Save
Once you have added all the necessary details, click Save in the top left of the contact card.
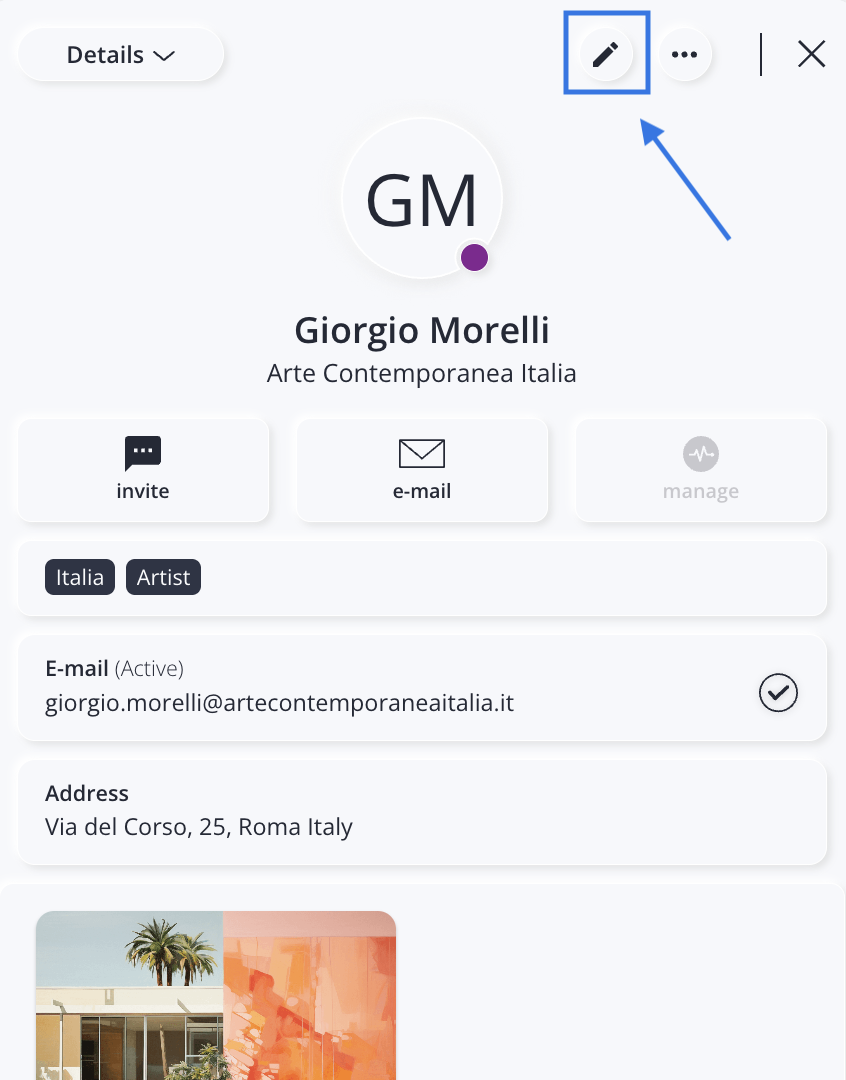
Edit a contact
If you want to edit a contact you have already created:
-
Select the contact you want to edit to open its card.
-
Click the icon to enter edit mode.
- After making your changes, click Save.
Delete a contact
Important: Deleting a contact is permanent and irreversible. Once deleted, it cannot be recovered. Artshell includes a confirmation step to help prevent accidental deletions.
To delete a single contact:
-
Select the contact you want to delete.
-
Click the icon.
-
Select Delete.
-
To confirm click Delete again.If you selected the wrong contact, click Cancel.
To delete multiple contacts at once:
Use the Select function to choose and delete multiple contacts simultaneously.
See the brief demonstration below: