Create, edit, or delete an insight
Introduction
In this article, you'll find all the steps you need to create your first insight, along with a complete guide to the icons in the interface.
If you plan to create multiple insights with a similar structure, we recommend using the Themes feature . With Themes, you can create a basic layout to reuse, saving time while still being able to customize each insight to suit your needs.
To learn how to use Themes, see the dedicated article:
Create an insight
Step 1: Create a new blank sheet
Click the icon in the upper-right corner and select the blank sheet to start creating your insight. If you haven't created a custom theme yet, the blank sheet will be the only option available.
Step 2: Enter the essential details
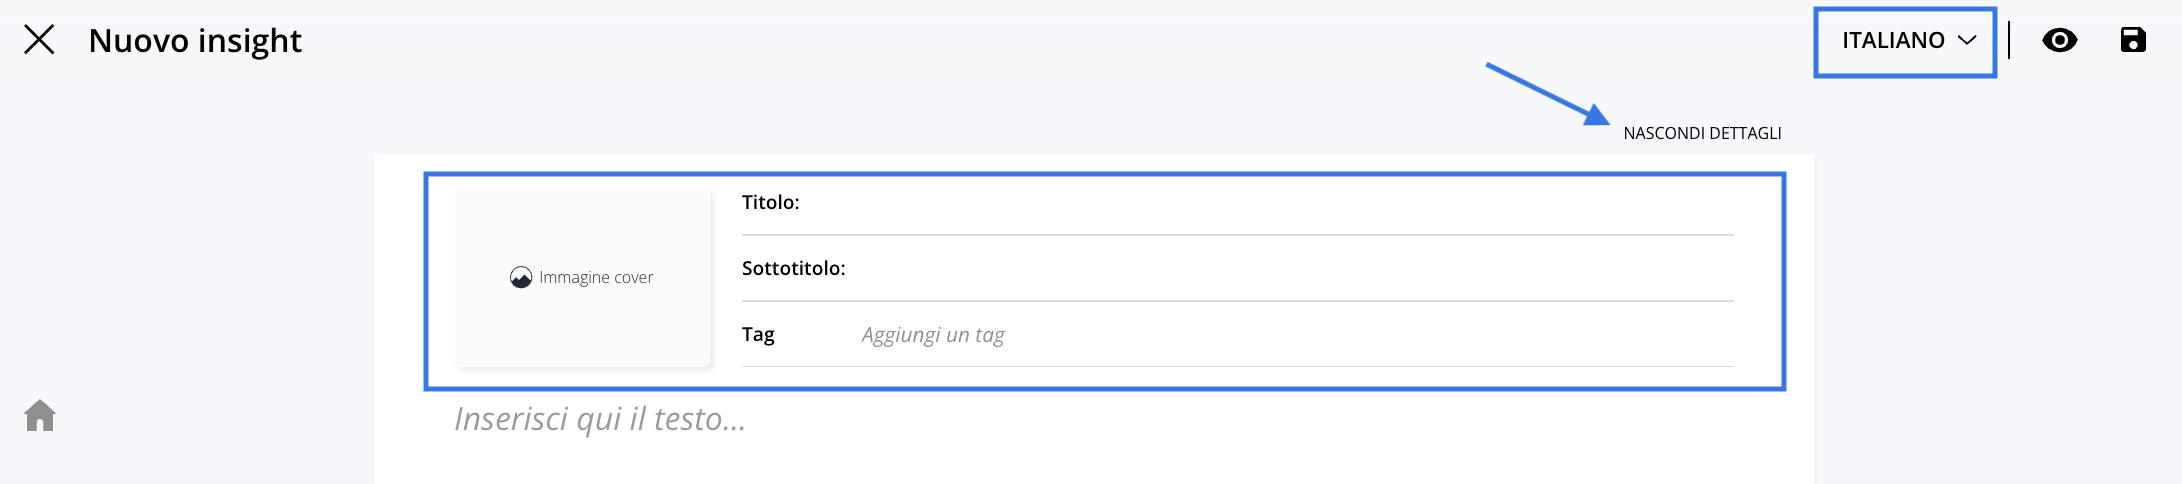
Fill in the required fields: Title and Subtitle.
You can also adda cover image and tags, which are useful for organizing and filtering your insights.
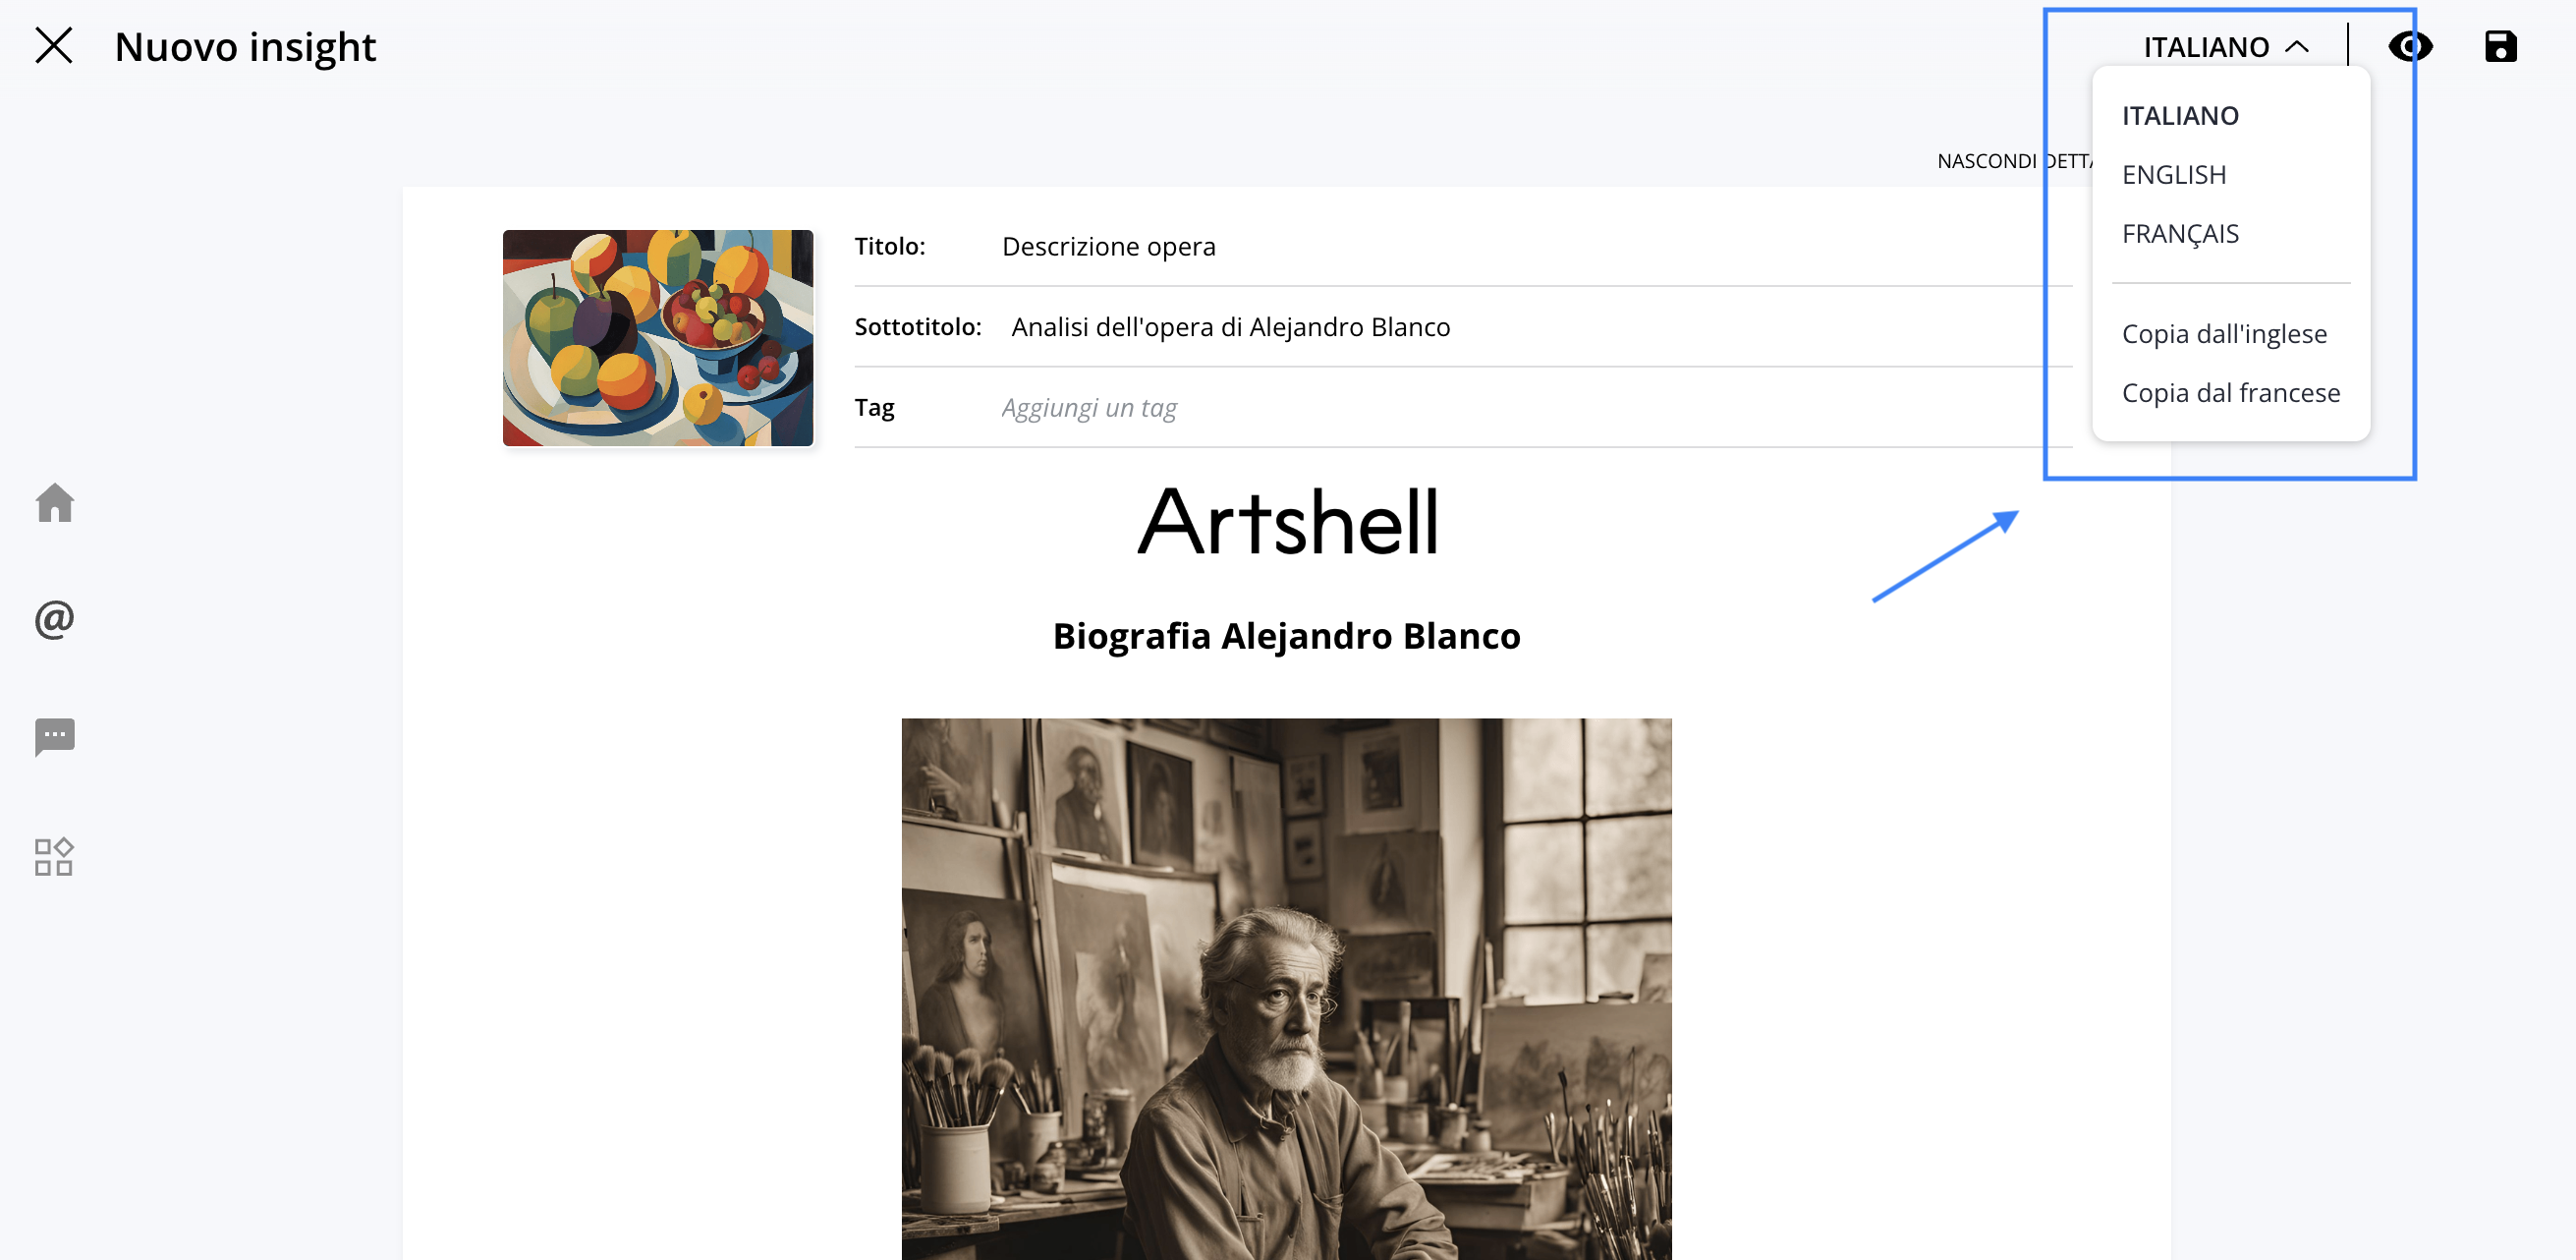
If you plan to share your insights with an international audience, use the multilingual menu menu to translate the details into English or French as well. Once you’ve filled in these details, you can click “HIDE DETAILS” to dedicate the entire insight layout solely to the content.

Step 3: Enter the content
The process of adding content is discussed in detail in the dedicated article:
For now, you can skip to Step 4 to save your insight and focus on adding content by reading the article mentioned above.
Step 4: Save
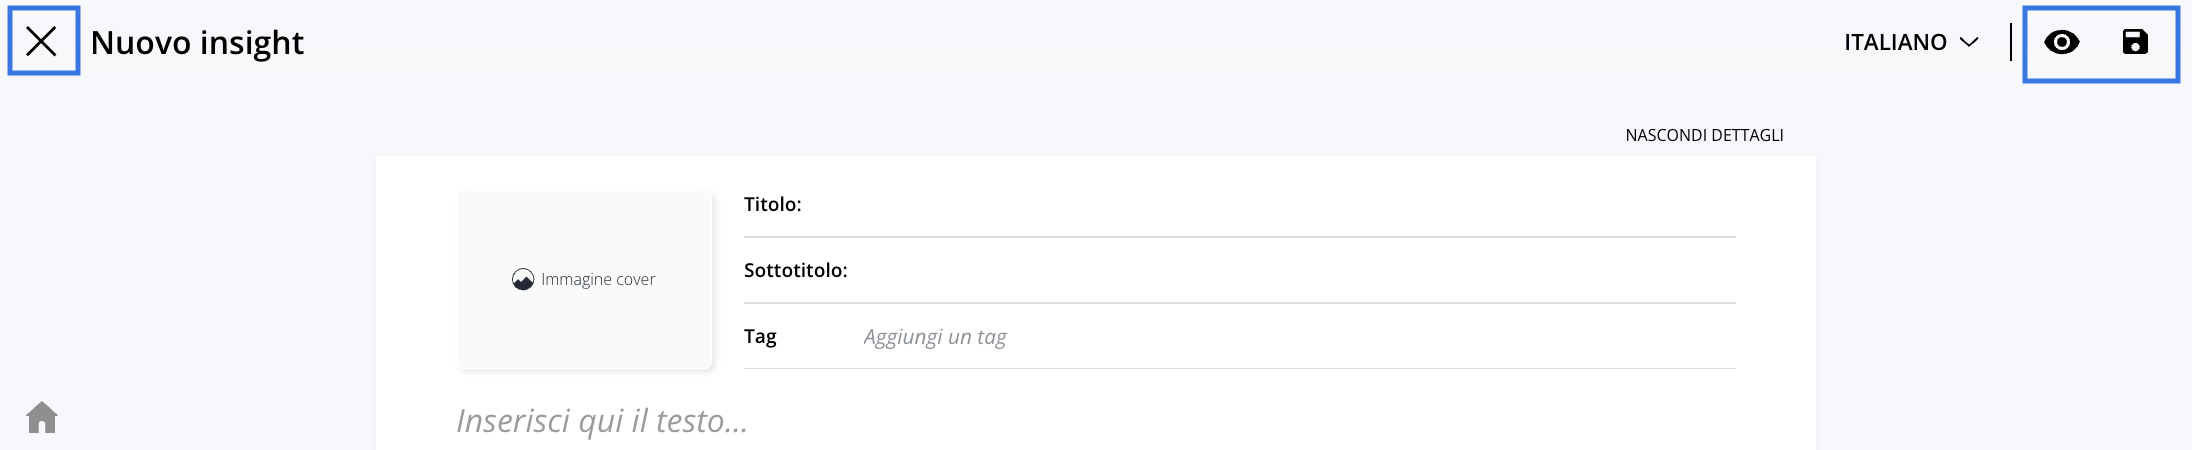
Save your insight by clicking the icon , then tap the ✖️ in the top-left corner to exit the page. The icon Instead, it lets you view a full-screen preview of your insight.
Warning: Always remember to save your changes before closing the page! Changes are not saved automatically, so you may lose any changes you've made if you close the page without saving.
Other features of Insights
Edit
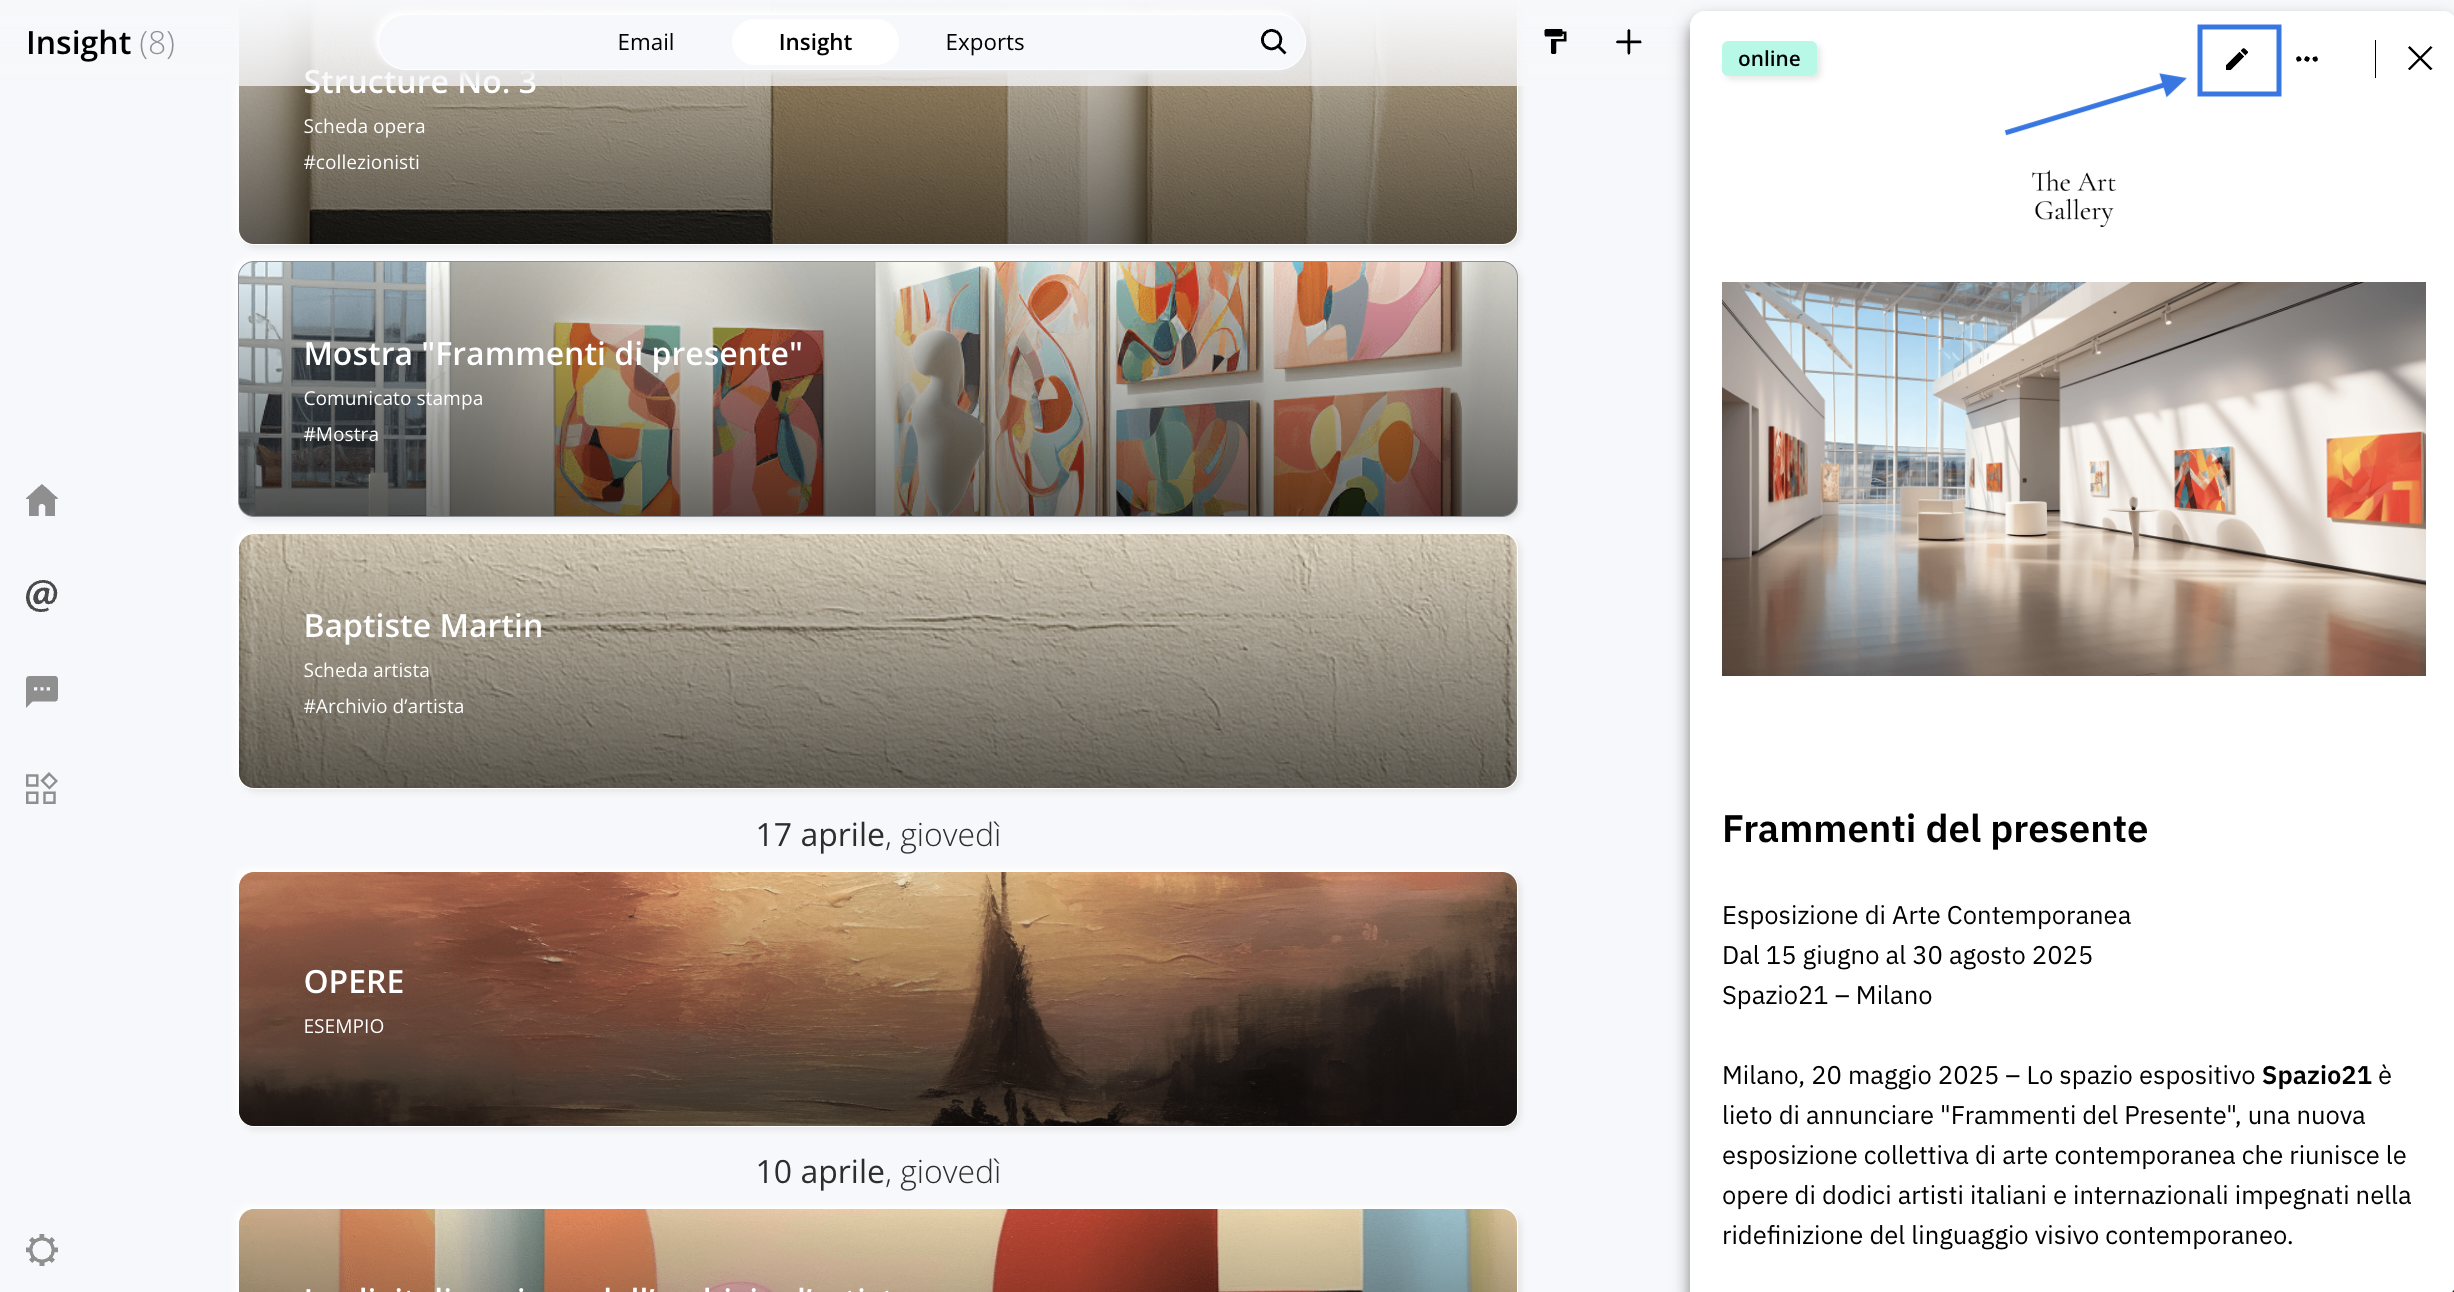
To edit an insight you've already created, select it and click the icon to enter mode edit.
To customize your insights and add content, read the article:
Export, Duplicate, and Delete
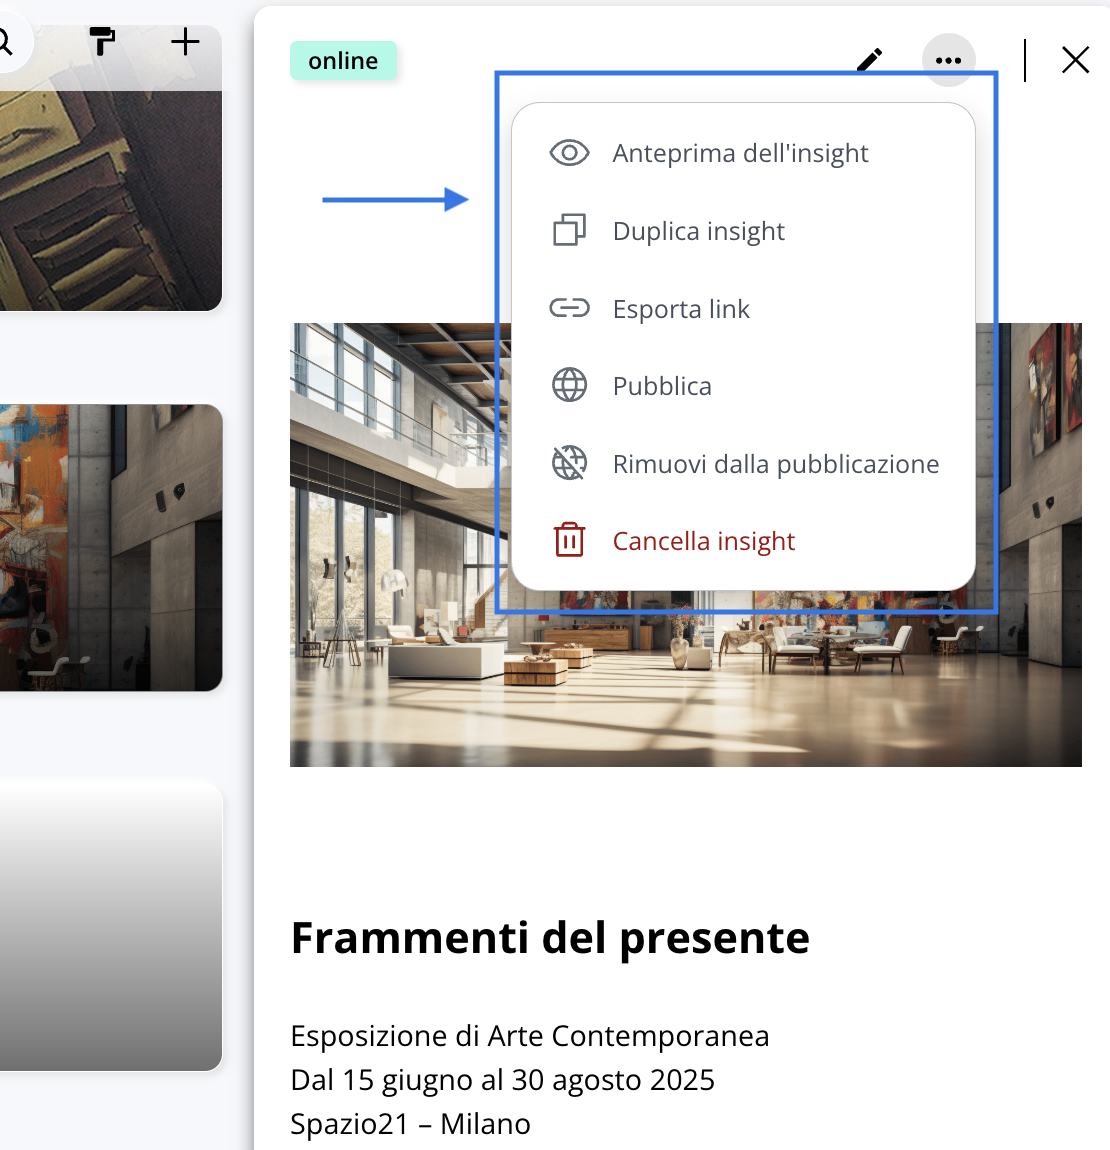
After selecting the insight, click the icon and choose one of the following options:
- Insight Preview: This lets you view a full-screen preview of your insight. Click the ✖️ in the upper-left corner to exit the preview.
- Duplicate insight: Create a copy of the selected insight.
- Export link: Export the insight as a link.
- Publish/Unpublish: This allows you to share your insight on your network profile or on your website if you've linked it to Artshell. Read the related article to learn more.
- Delete insight: Permanently delete the insight.
Multilingual Management
Insights can be created in Italian, English, and French. To add content in multiple languages:
- Select the insight.
- Use the drop-down menu at the top to change the language.
- Fill in the fields in the new language. You can also use the " Copy from English " or " Copy from French" options.
Note: Translations are not automated: the content must be translated manually and added to the respective language versions.
Conclusions
Now that you know how to create an insight, continue reading the following articles to learn how to best customize and share your content: