Create or delete an email
Introduction
This article walks you through the process of creating personalized emails and newsletters in Artshell, step by step. Here you’ll find the steps needed to select recipients and senders and add text to your message.
It is important to clarify the meaning of the term "recipient" within Artshell:
Recipient: This refers to each email address, not the record . If a contact has two active email addresses, the software considers that contact to have two recipients.
Before you begin, make sure you have everything you need to write your report without interruption.
Prerequisites
- Check your sender email address. If you have any questions, click here to learn how to verify your email address.
- Add at least one contact with a valid email address in the Contacts section Contacts if you haven't done so yet, click here to learn how to add a contact).
- Enter the link to your Privacy Policy in the Settings panel of your account.
- Make sure you've set up your account's DNS settings correctly.
- If you're setting up your first newsletter, we recommend that you also read the article titled "Newsletters: How to Best Manage Your Communications with Multiple Contacts."
Create a new email or newsletter
Step 1: Create a new blank sheet
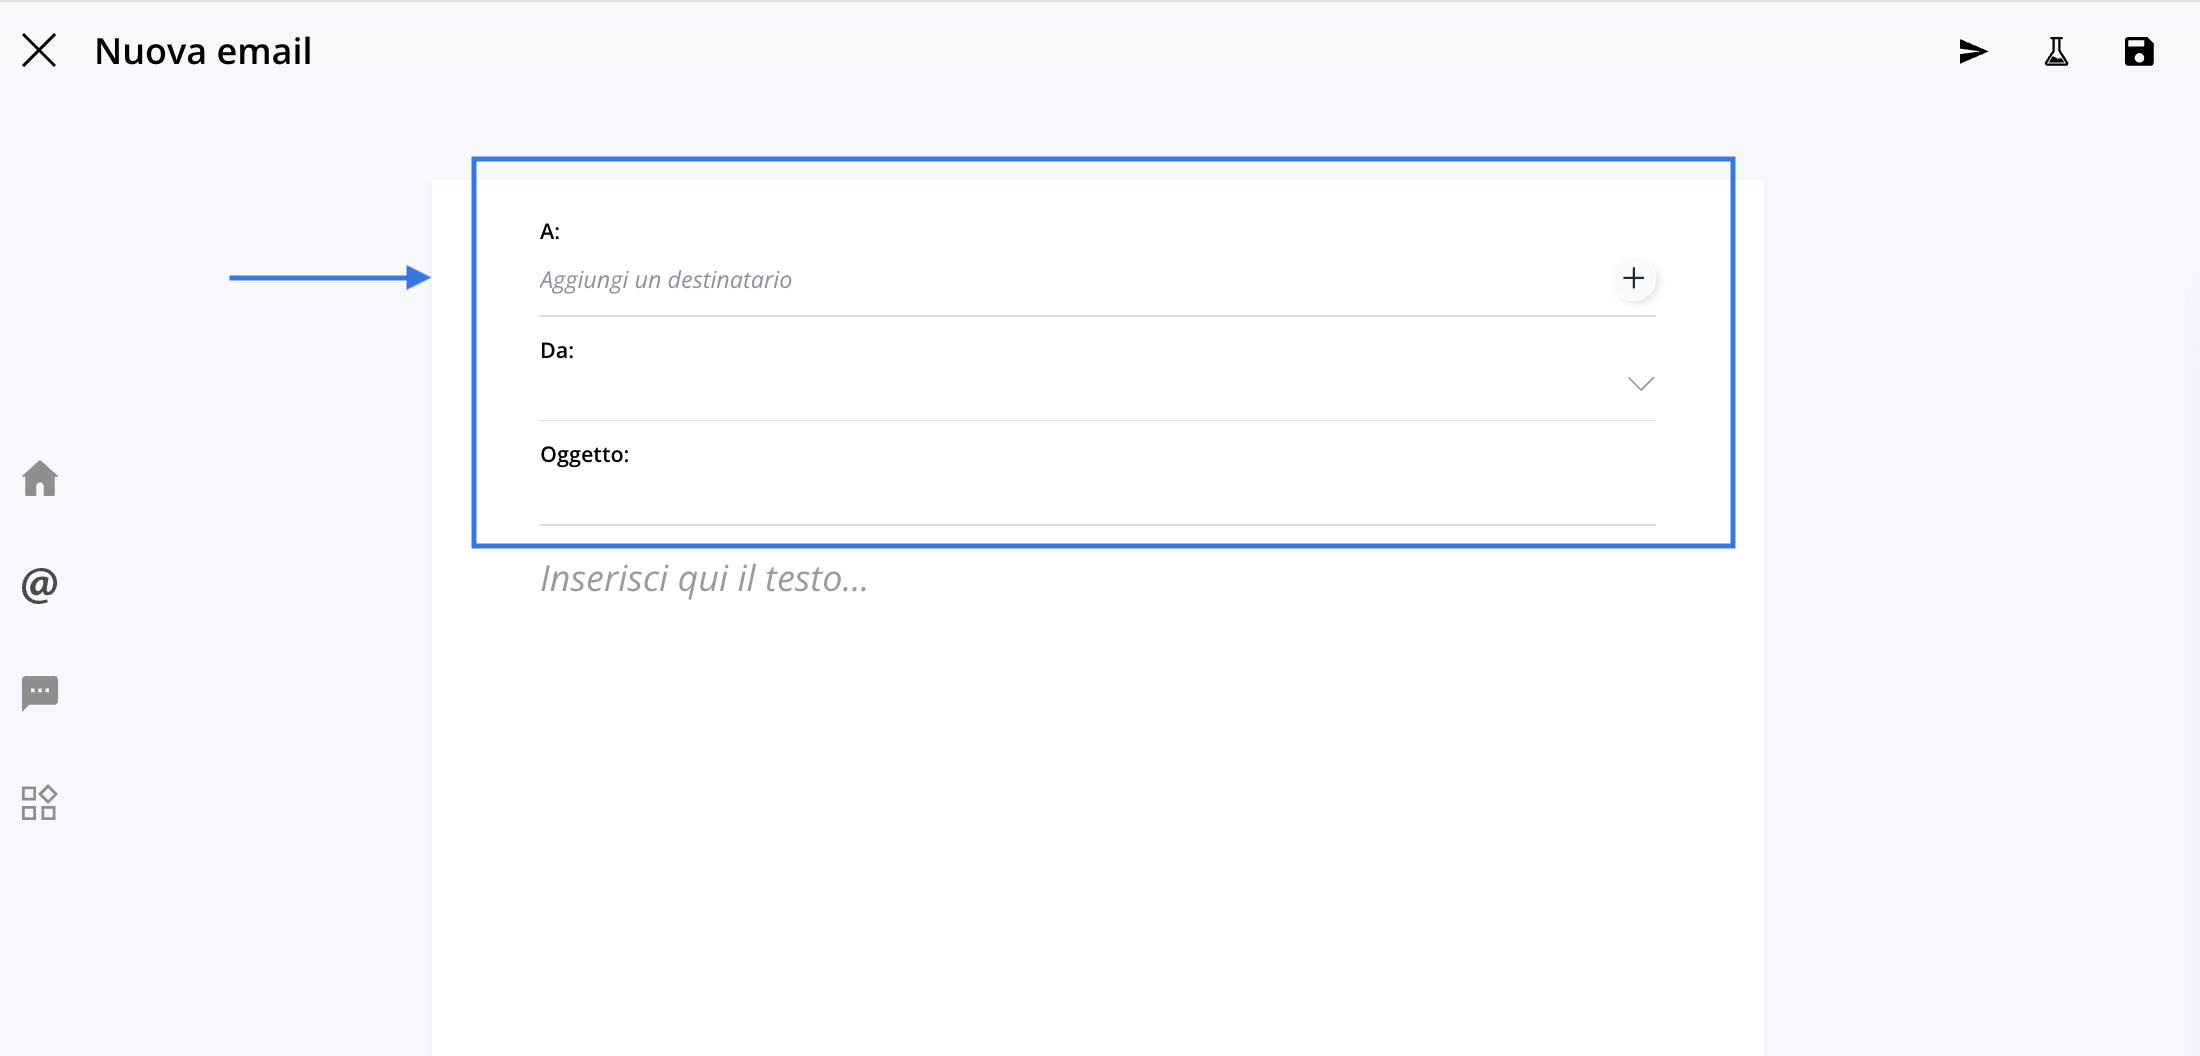
Click the Click the top-right corner to open a new blank sheet where you can enter the details of your message.
Step 2: Enter the essential details
To view the details of each field, click the corresponding box to expand it:
A:
Here you need to enter the recipient or recipients recipients of your message. Click Add a recipient to open the drop-down menu from which you can select the email addresses to which you want to send your message.
If you've already populated your Contacts section Contacts tags and lists, you'll see a few options appear before the email addresses, namely:
- "All Contacts " lets you send your message to Contacts your address book.
- Tags: allows you to select one or more tags as email recipients.
- From your lists, you can select a list that you created manually.
- Automatic lists: You can select an automatic list.
You can also start typing the email address of the person or company you want to contact to see results containing the search term appear immediately.
If, on the other hand, the email address has not yet been entered in Artshell You can click the to open the record and fill in the fields. This new contact is automatically saved in the Contacts section.From:
Here you need to enter the source sender's address, among those listed in the section Email Settings in Settings panel (
), you want to send your message. If you want to enter a different sender address Read this article to set up additional email addresses.
Subject:
Here, you need to specify the subject line of your message. For tips on how to write an effective subject line and reduce the risk of your emails or newsletters ending up in the recipient’s spam folder, check out this article. Tips for keeping your emails and newsletters out of spam.
Step 3: Start writing the text
To write the text of your message, click Enter text here... or anywhere on the blank page and start typing your text. Alternatively, you can paste text that you have previously copied from other files (such as Word or PDF) or web pages.
Note:Artshell always pastes previously copied text inplain text mode, so the pasted text always appears "plain" (without fonts or specific colors). You can manage the option to paste with or without formatting fromthecentralformatting menuby selecting"Edit Style."
Watch the short video below:
Step 4: Save
Click the icon Click the button in the upper right corner to save your new message.
Delete an email or newsletter
Click the message you want to delete, then select the icon in the upper right corner, then click Delete email.
If you want to proceed with deleting the message, click Delete again; otherwise, select Cancel.
Conclusions
By now, you’ve gained the skills needed to create an email or newsletter. Remember that well-structured communication is essential for achieving your marketing goals. Read the next articles to learn how to optimize your campaigns and get the best results: